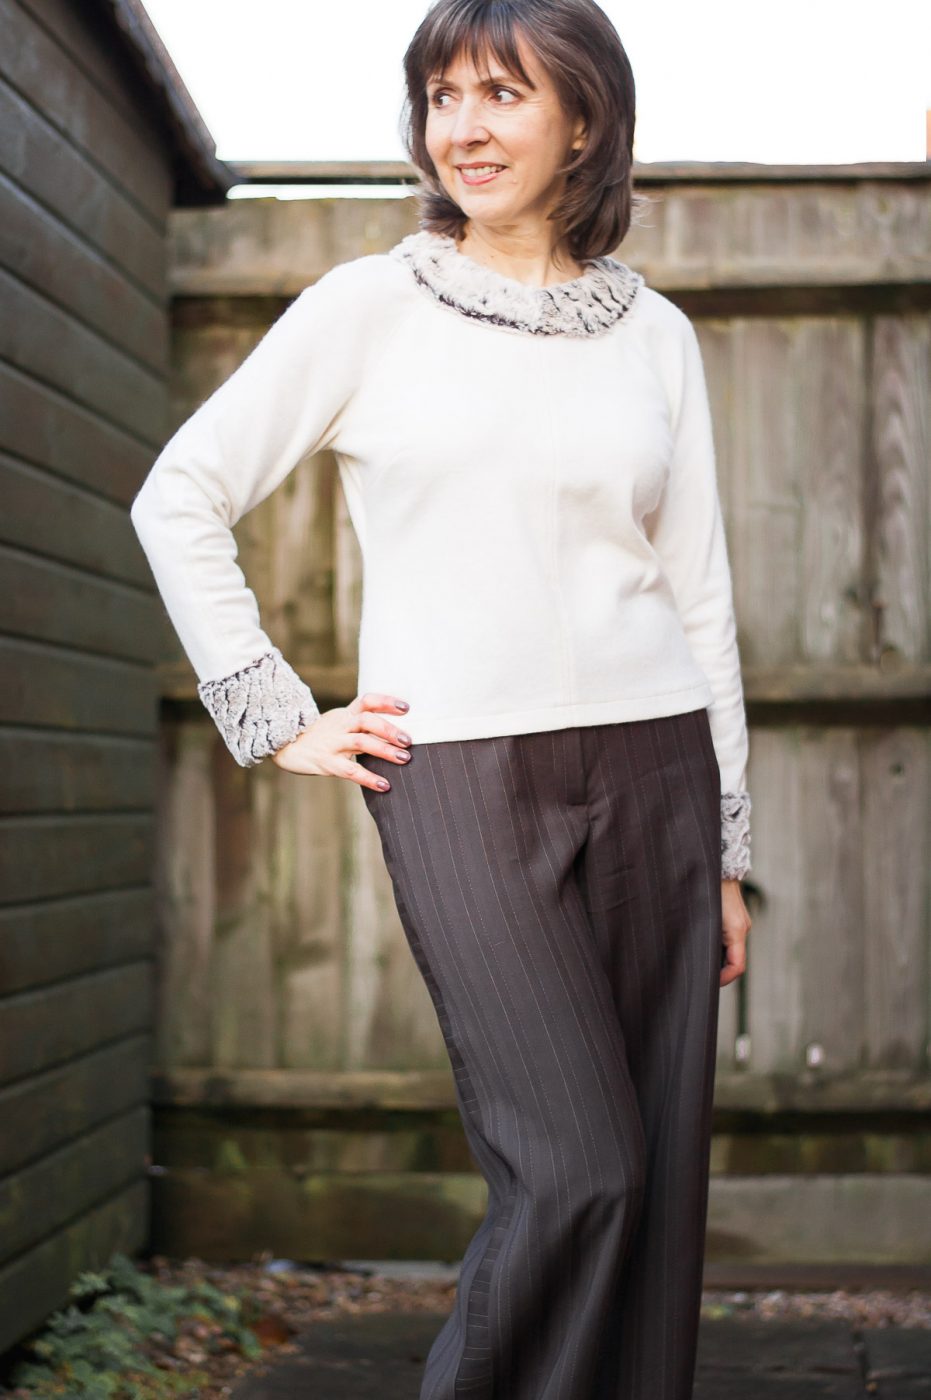
Don’t you just love how my sweater with faux fur details oozes cosy wintery vibes? I made this sweater very sloooowly over the last week and it turned out just as I’d hoped (I so love it when that happens!).
I say I did it slowly because the bloomin’ winter blues have really been kicking my butt. If you’re living in the UK then you’ll know what I mean because it’s been day after day, after day, of dark rainy weather (as I write the sun finally came out for the first time in what seems like forever). Anyhoo, I think my new make will help me shake off the doldrums and I’m glad I kept sewing because it really helps doesn’t it? That and chocolate of course, haha!
So I’m guessing you want the details of my sweater? Ok then, let’s dive in. Firstly, the fabric is a wool blend, slightly felted single jersey which I bought from Sherwoods Fabrics at the start of this year. I actually bought a remnant first and then decided I wanted more so I ended up with two lengths at 1m and 1.1m. I made this top out of the slightly longer length and used every last scrap….the shorter length will be incorporated in a colour block design.

The pattern I used is OOP Vogue 8866 and I bought it for the fab seam lines of the top and dress. I’ve already used the pants pattern for these Palazzos. I slightly modified the top by cutting the funnel neck down to a basic round neckline, but I’m definitely making it in the original design at some point. I got the pattern off amazon and could only get the next size range up to my normal one so I sized down from the 14 to an approximation of a size 12/10.
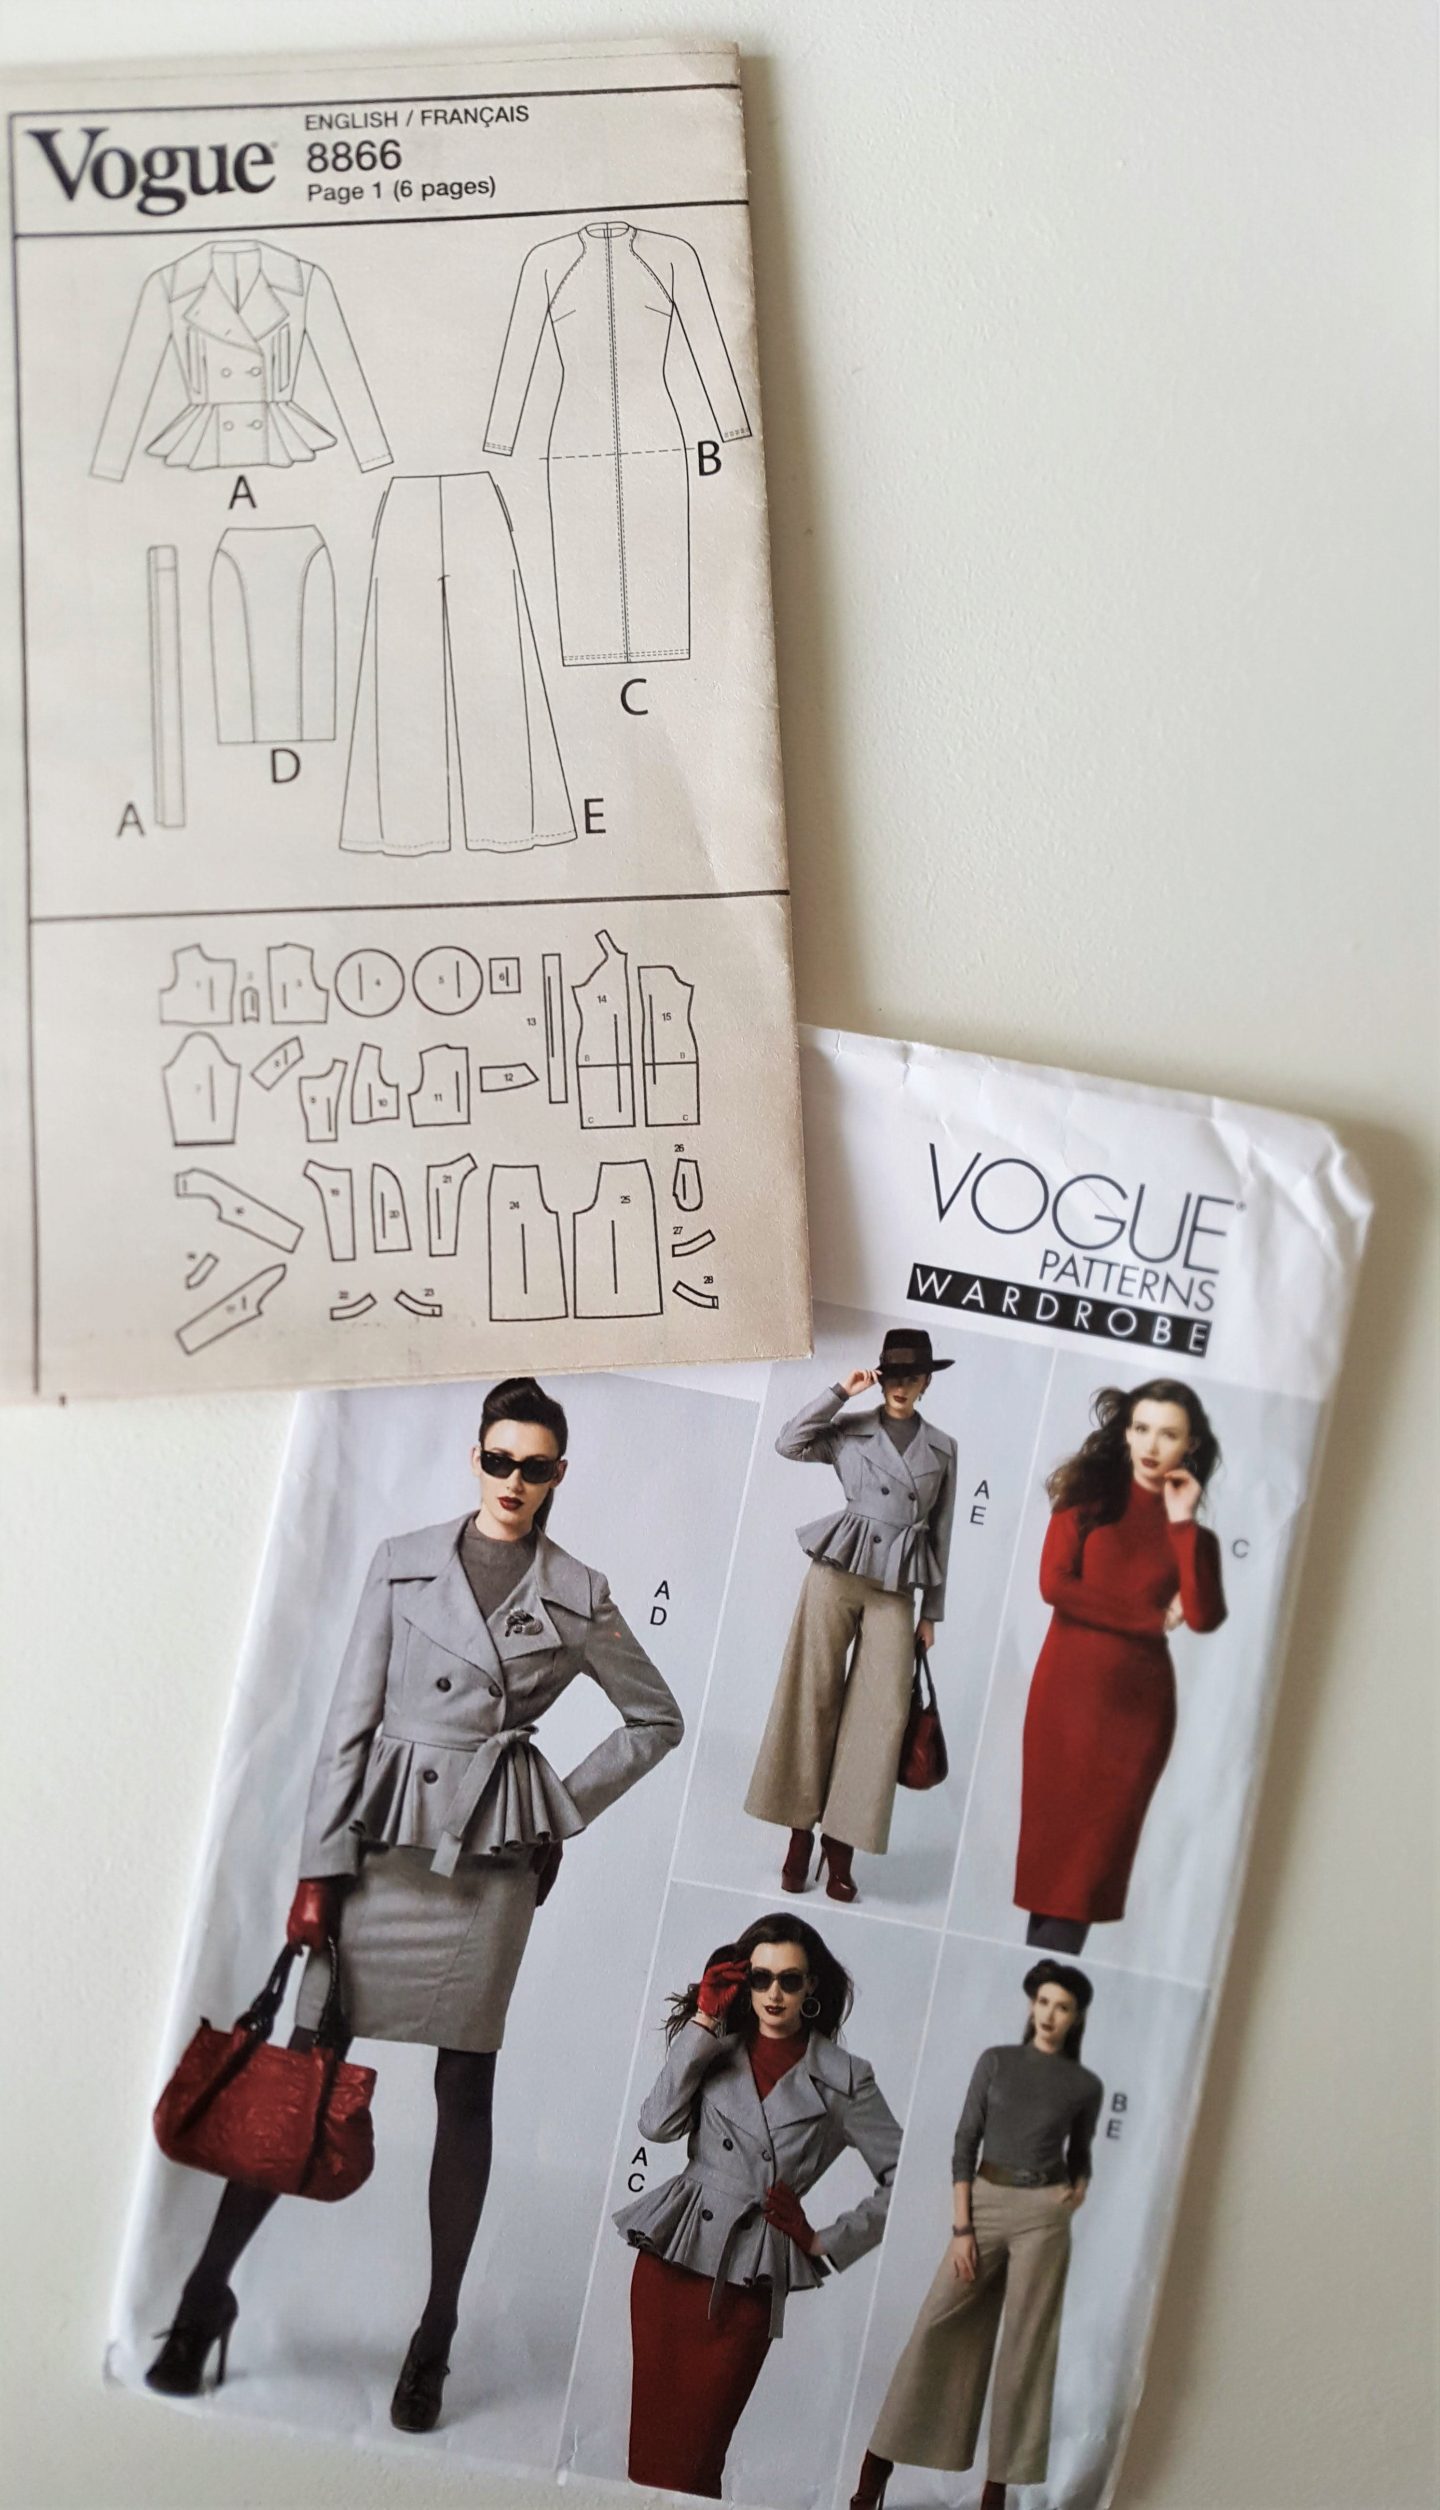
I didn’t want it as close-fitting as the envelope photos so it worked out fine for my thicker fabric.
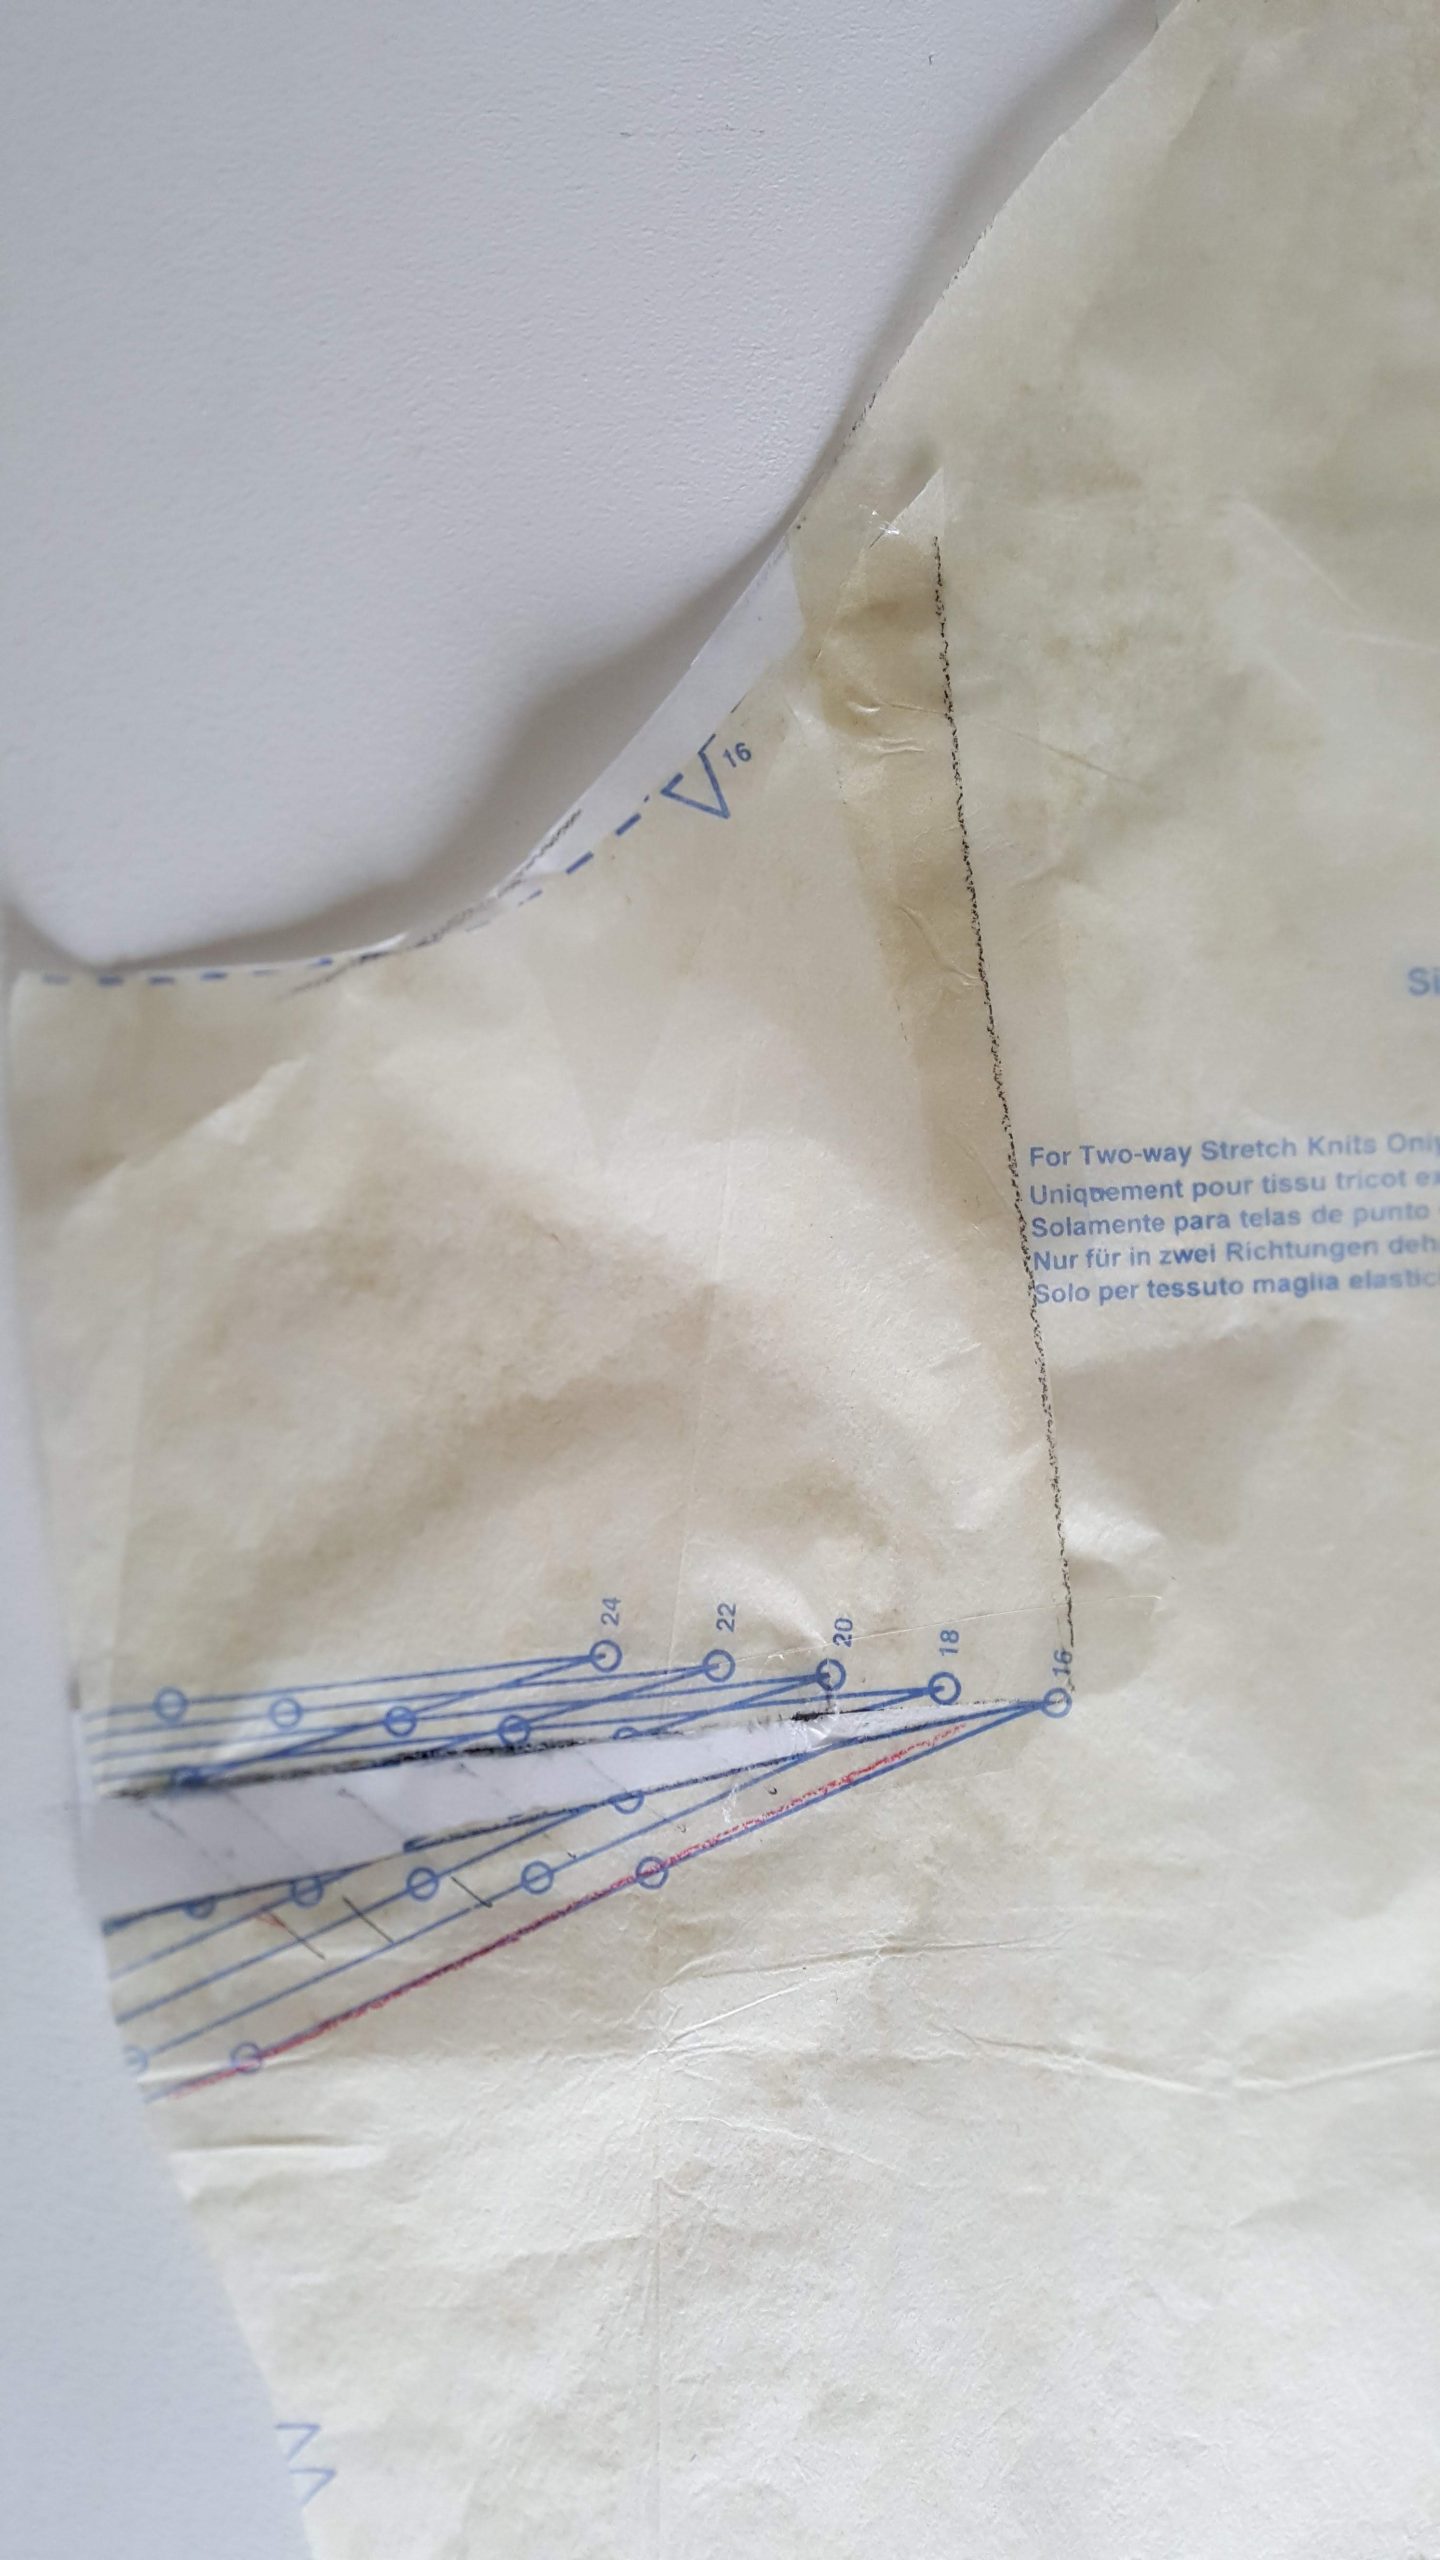
The raglan shape of the sleeves is fab. I only needed to square off the shoulder line a little and the fit turned out great. For the body, I decided I needed a bit more depth over my bust so to increase the bust dart and at the same time shave some off the front armhole depth (I always need a shorter front armhole) I did this adjustment:
- Slash down from part of the way along the armhole right to the point of the dart.
- Slash from the side seam through to the dart point but not right through.
- Close up the slash at the armhole by 1.5cm, which opens up the dart.
- Secure the overlap with tape and stick some tissue at the back and blend the seam shape.
- Lay some tissue under the dart, stick in place and redraw the larger dart.
- True up the side seam edges.
I’d already decided to use the faux fur offcuts from the furry vest that I wrote about here and I thought how cool it would be to highlight all of those fabulous seams on the sweater with some topstitching in a shade that picks up on the taupe-y grey fur colour…you know me and topstitching…everything is fair game to me!
I used one strand of light grey and one strand of a sort of beige shade of thread run together for a thicker looking stitch.
The fabric didn’t fray at all so I completely skipped overlocking and just steam pressed the seams open, then topstitched either side. I love how it looks and hope you do too.
I only just had enough faux fur and had to join the neckband in the centre front where the pile also runs in different directions, but hey ho…it works 🙂
The cuffs and collar are sewn on as if they were facings but on the outside instead. I understitched them all to get a lovely turn of cloth so that they lie nice and flat and to finish off I hand stitched the outer edges in place.
Two buttons and hand-crocheted loops fasten the back neck and I just added a bit of ribbon and my own label for finishing touches.


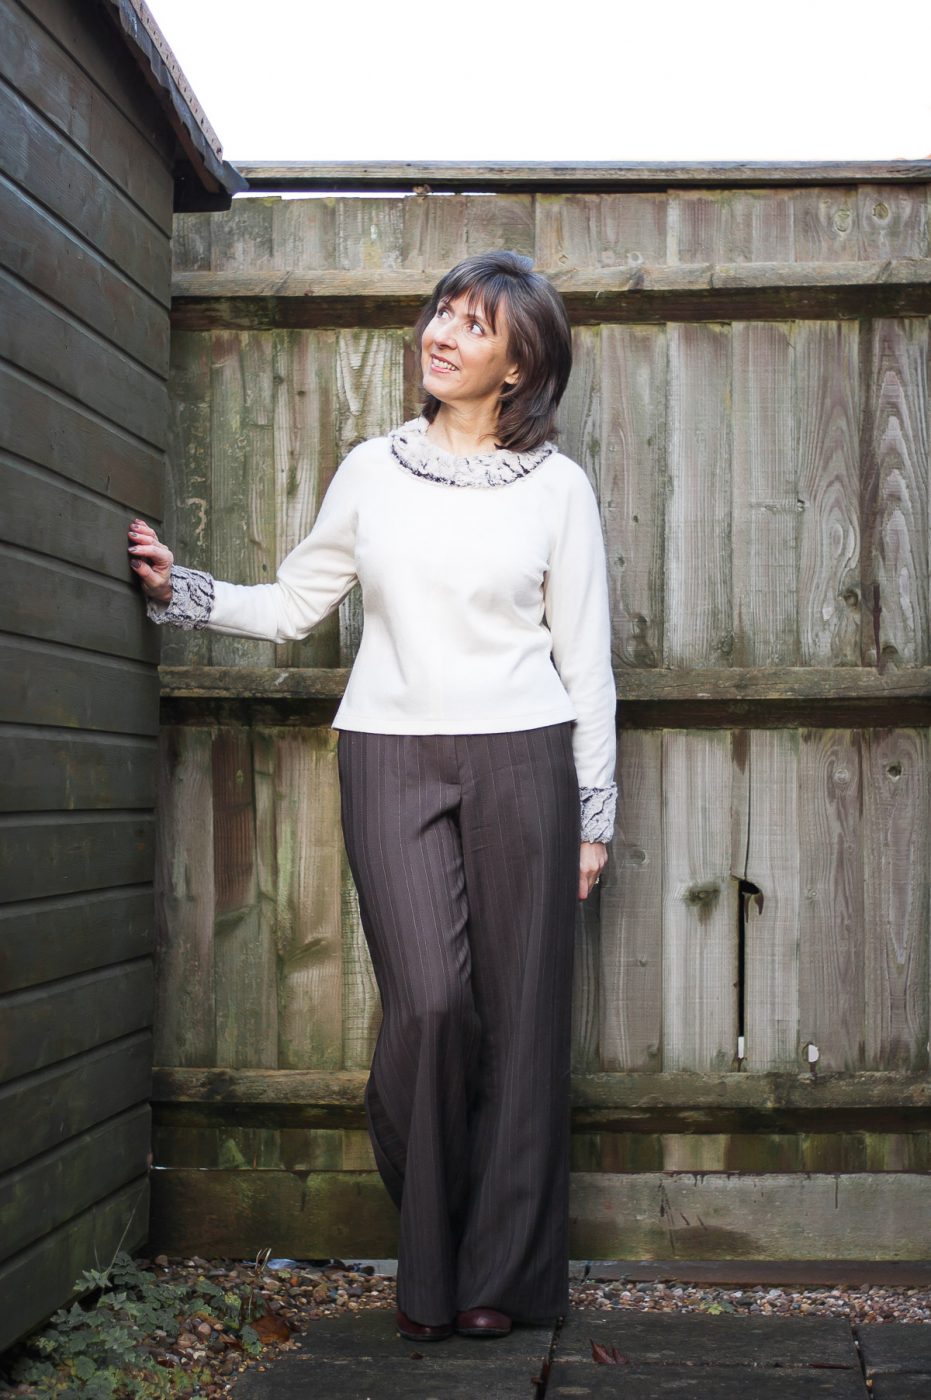


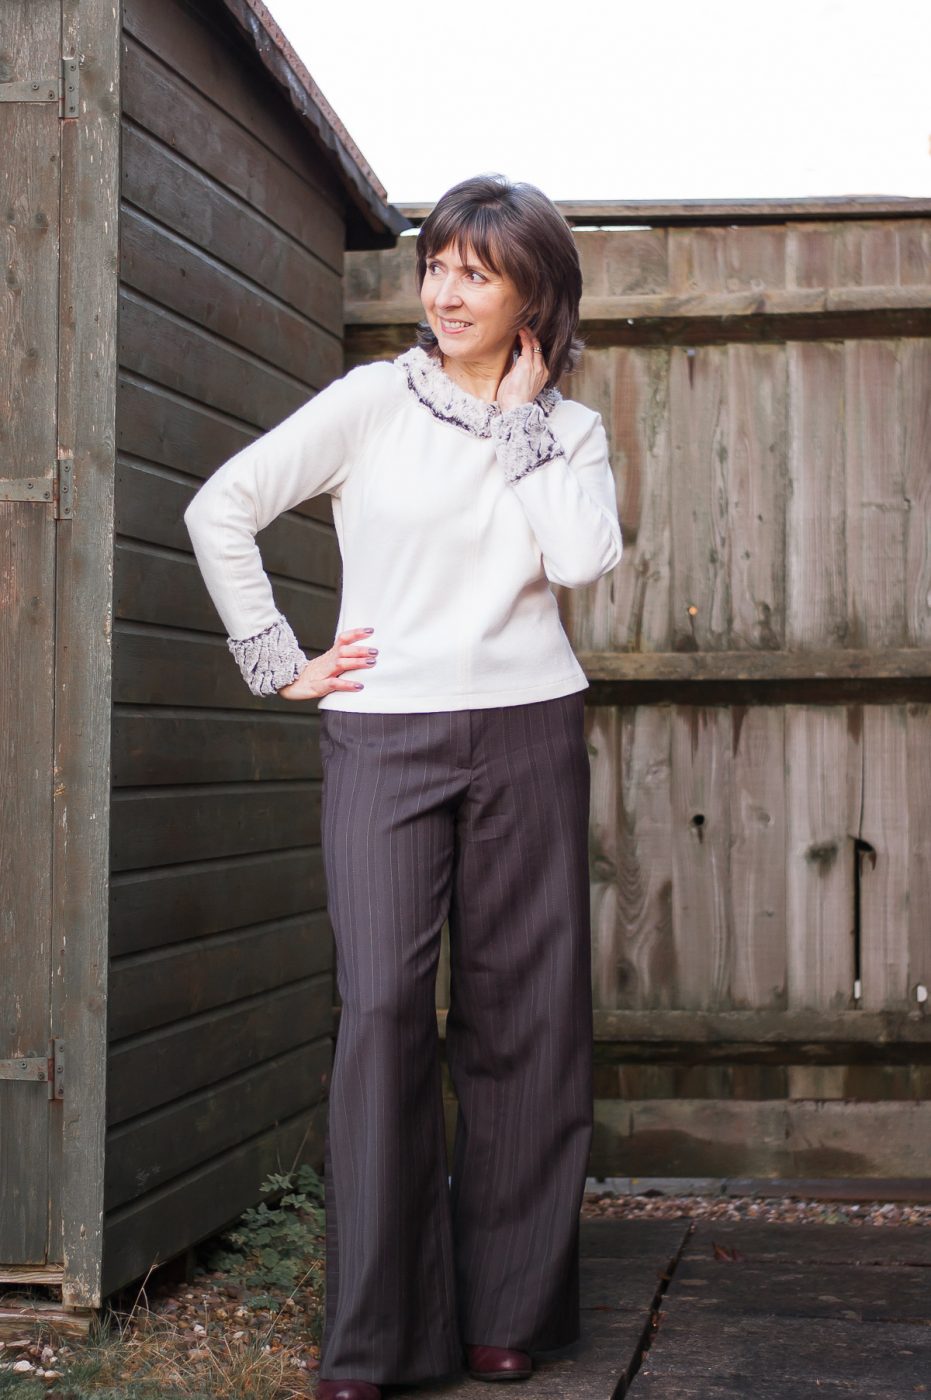
This was a fun project to do and I’m really chuffed with the end result. I like how the shorter length works well with skirts and wide-leg pants or culottes.
Well, with Christmas drawing nearer, I may have just a couple more blog posts for you before the holiday break and then it’s 2020! Yikes!
Thanks for stopping by and I’ll catch you soon.

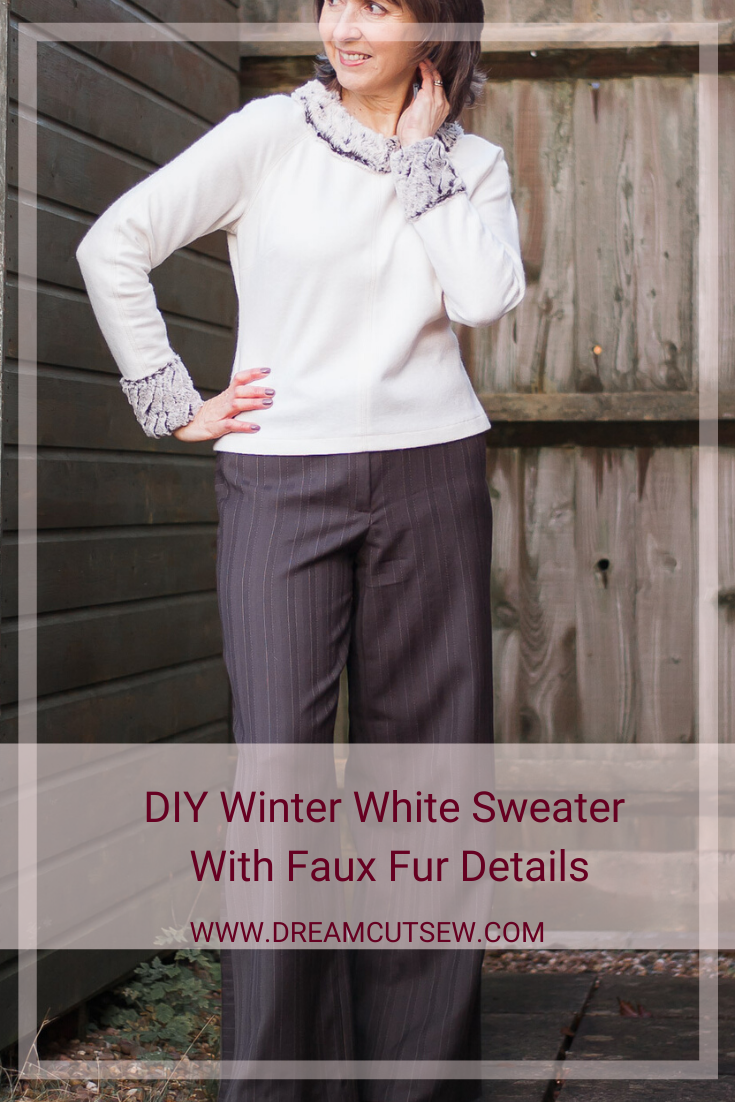
Pin For Later

Love this make. The fur is a nice cosy touch.
Author
Thanks Vicki! I love how the fur looks…now I want to go crazy adding fur trim to everything 🙂
I love topstitched seams. this is such a great make and it looks perfect with your gorgeous trousers.
Author
Thanks ever so much, Sue. Yea, I think I’m a bit addicted to topstitching!
I so love reading about your sewing journey. A lovely trip — for sure. The top stitching on this is a wonderful touch. The whole garment is lovely, just lovely. And your pants! I just noticed the touch of cross-grain stripe along the side seam. Be still my heart! In the new year, I am going to put “What Would Diane Do” on my inspiration board in the sewing studio!
Author
Aww, thank you Karen! You’ve made my day :). By the way, I forgot to link the pants. If you search ‘full-length McCalls 7445’ you’ll find them.
A beautiful make and it looks so cozy.
Author
Glad you like it! Thanks, Chris x