I hope you’ve had a good week? As you can tell by the fact that you’re reading this…I’ve been busy sewing more Winter sweaters. I’ve always been drawn to interesting necklines and draped features so this knotted top with drape by BurdaStyle really spoke to me the minute I saw it. I think I actually came across it on Pinterest rather than the Burda website…I do love Pinterest. Many a happy hour, or three, or four, or more has been lost on there, hehe. Anyway, the original pattern is a Summer top with a capped sleeve it’s 125 08/2016 but I could immediately see the potential for a full-length sleeve. So the idea for a cold-weather-appropriate top was born.

The fabric I’ve used is a deliciously soft and cuddly sweater knit bought from Sew Me Sunshine with a voucher that I won for ‘make of the month’ with this dress. It’s the perfect shade of soft pink that I love and drapes beautifully for my top. A match made in heaven I think 🙂

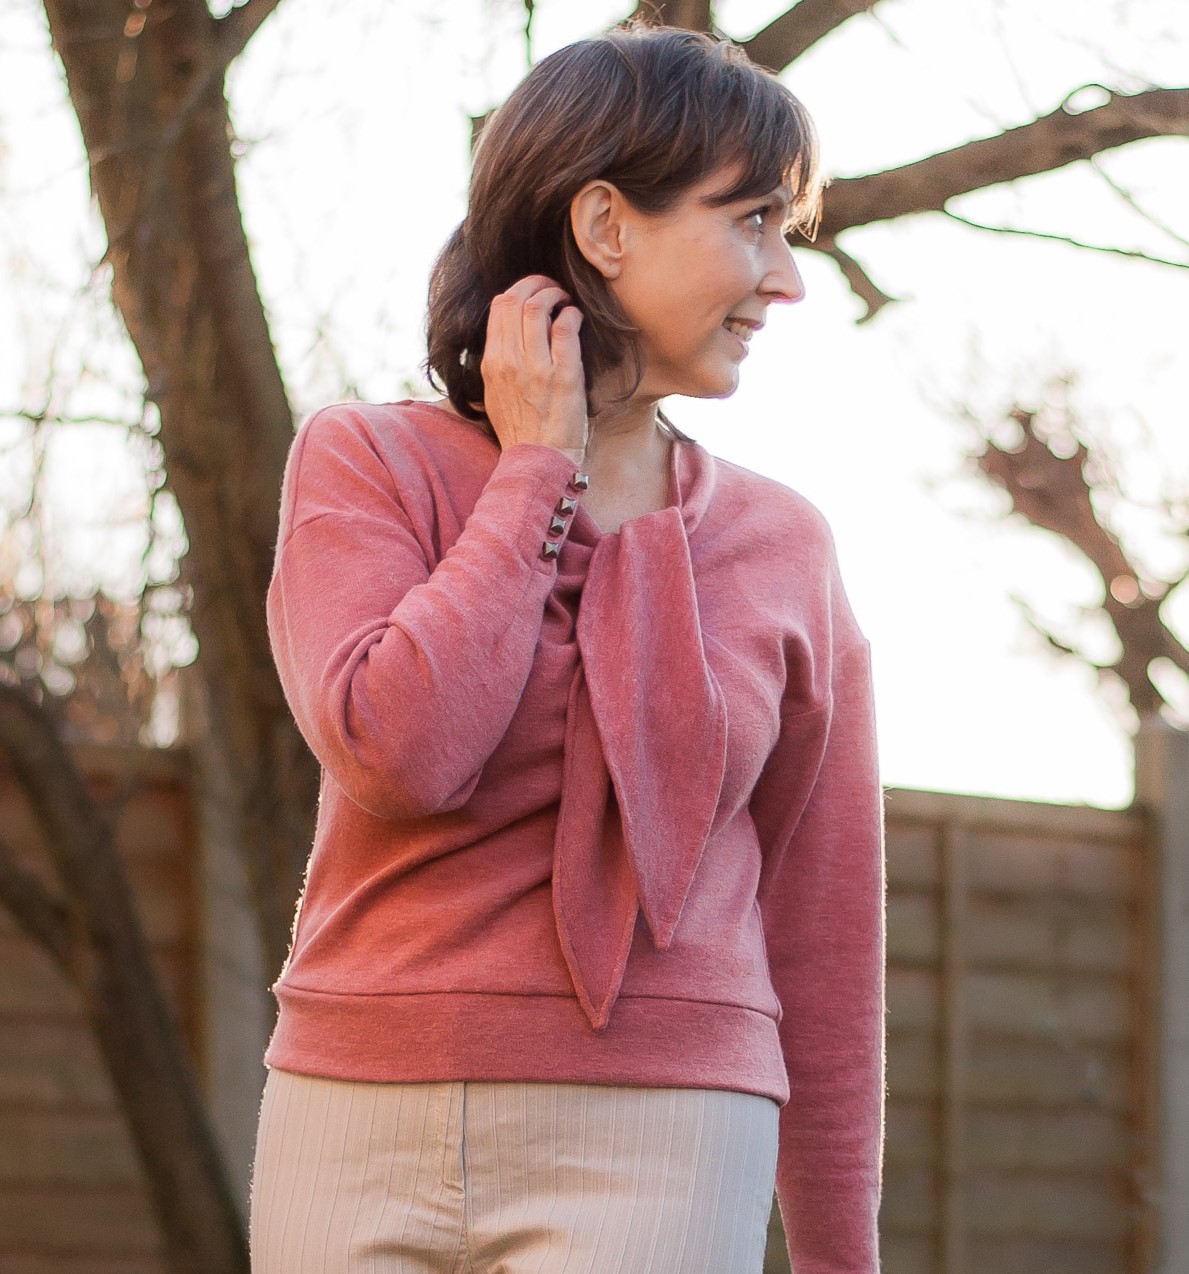
DIY Knotted Top Style Features
So the main features of the design are the right front that extends into a long tie and the left upper-side section with an angled seam and another tie extension. The shoulder line extends down the arm and it was fairly easy to draft a sleeve suitable for a dropped-shoulder design.
Now, my drafting technique for the sleeve is by no means by-the-book…more like “fly by the seat of my pants and make it up as I go along” but it worked so I’ll take the credit.. 🙂 So keep reading to see how I did it:
Drafting My Drop Shoulder Sleeve Pattern
- I checked how far the shoulders extended down my arms and measured from this point to my wrist. This would be my finished sleeve length.
- Next, I drew a vertical line using the finished length. This would be my centre sleeve line.
- Then I drew a horizontal line 2” down from the top of the vertical line.
- I measured the Burda pattern from shoulder to armhole depth on the back and front patterns and these measurements determined the top of my sleeve. The back of a sleeve is always wider than the front making the centre line biased towards the front.
- I used my fashion curve to draw the top of the sleeve checking that the measurements for front and back were the same as the ones I took from the front and back patterns.
- At the bottom of the vertical line, I drew another horizontal line for the bottom of my sleeve. At this point, I had another design idea…I’ve wanted a sleeve with button details at the cuff for ages so I marked a short vertical line just past the centre on the back half. I drew a short dart that straddled this line and this would become a slit that could add buttons and loops to (see later in the post for construction).
- I worked out how wide I wanted my sleeve to be at the wrist and then drew a line from hem to underarm on both sides. I drew it with a very slight concave curve so that it hugged my lower arm nicely.
- Seam allowances and hem were added and my sleeve pattern was complete.

Before any main seams could be sewn I had to sew tiny hems all around the ties. I started to sew them on the machine and to my eye, they just looked kind of bulky and not refined enough. The fabric is quite soft and a little bouncy so I sewed them all by hand just rolling with my fingers as I went and making small stitches. It was fun to do and I much prefer how it looks.
The body went together easily. I found the back neck to be a little wide so ended up putting a couple of tiny darts to bring it in a bit. The sleeves got sewn in after the back neck and shoulders followed by the sides and underarms which were stitched in one go.
Creating A Slit With Buttons And Loops
Now, about those buttons and loops on the sleeve…I stitched up the short dart, then slashed from the bottom and just up into the dart fold.
To create my loops I cut a length of knit fabric about 3/4″ wide down the grain of the knit (as it’s not a woven fabric I didn’t have to cut on the bias). I folded it and stitched about 1/4″ from the fold. I trimmed, turned it through, then stretched it out a bit and held it in place on my ironing board finishing it off with a good steam. Finally, I chopped it into short lengths
Next, I fixed loops into place, added tiny facings and stitched them in place. Now, if my brain had been working at full capacity (lol!) then I would have extended the hem down below the slash into little grown on facings for a cleaner finish, but nobody’s perfect eh? Next time I’ll know better.
See these photos for some close-ups:


This Burda top has an option for either a plain hem or a band. I opted for the band and I made my top quite short because I’m all about the shorter lengths these days. It’s such a nice casual addition to my wardrobe and the lovely details add interest. I’m sure it’ll get lots of wear.
Well, I may crank out one more post before Christmas and then I’ll be knee-deep in festive food and drink :). But in the meantime, I have a cardigan to make for my mother in law.
Thanks for reading…catch you soon!

Pin For Later


What a beautiful color and the sleeve buttons take it up a notch!
Author
Thanks, Linda. Yea, I love how they add interest 🙂
Absolutely beautiful! The sleeves are such a nice touch and I hope to make something similar in the future! Thanks for the tutorial
Author
Ahh, thank you Silvia! I’m so pleased you feel inspired to make your own x
I love this hack. Turns a nice little top into an elegant sweater
Author
Thank you so much, Karey!
I love the neckline and your sleeve addition. I have a favorite long-sleeve T pattern, with standard set-in sleeves. How do you think that would work if I incorporated the neck into a standard T pattern? Would it be saggy/frumpy in the front? I’m thinking maybe so.
Author
Thanks, Anne! Well actually in the latest December BurdaStyle magazine there’s a round neck top with set-in sleeves that has a variation on this tie feature, so in theory, it could work. It’s not on the main website yet but I could send you a photo if you drop me a quick email
This color is lovely on you. Congratulations of the perfect combo of fabric and pattern. And thank you for the tutorial for the sleeves. I’ll be saving that for the future.
Author
Ahhh, thank you so much, Karen! I’m pleased you found the mini-tutorial handy,
This looks lovely! Great ideas. Glad to see you adjusting to winter dark and cold, too.😊
Author
Thank you, Heather! Yes, I’ve been feeling better, less tired and more focused 🙂
Wow, I really like where you’ve taken this top! The sleeve buttons just take it to the next level. I’m sure this will brighten up many a dreary winters’ day.
Author
Thanks, Chloe! I’m so glad I made the effort to do the button detail 🙂
Thanks for the detailed info about the sleeve. I really like this top and it’s the *perfect* style for my red & white striped knit. But I knew the short sleeves would mean virtually no wear until summer. I’m going to use your instructions to add a sleeve! 🙂
Love the button detail too!
Author
Thank you! Yes, I felt the same about the short sleeve for this style. I get much more wear from a full-length sleeve. Glad my post was useful x
This is brilliant!!!
Author
Thank you!