
You know when you have a top that you love…and then it starts showing signs of wear, little holes here and there, pilling etc? Well, I used to have a top like that and it’s now in knit top heaven and the hanger where it used to be is empty….(cue violin music) 🙁
I really needed another top like that in my life, so I delved into my freshly sorted and organised fabric stash and pulled out a pretty coral pink viscose jersey that I had bought a couple of months ago from Barry’s Fabrics in Birmingham.
Versatility
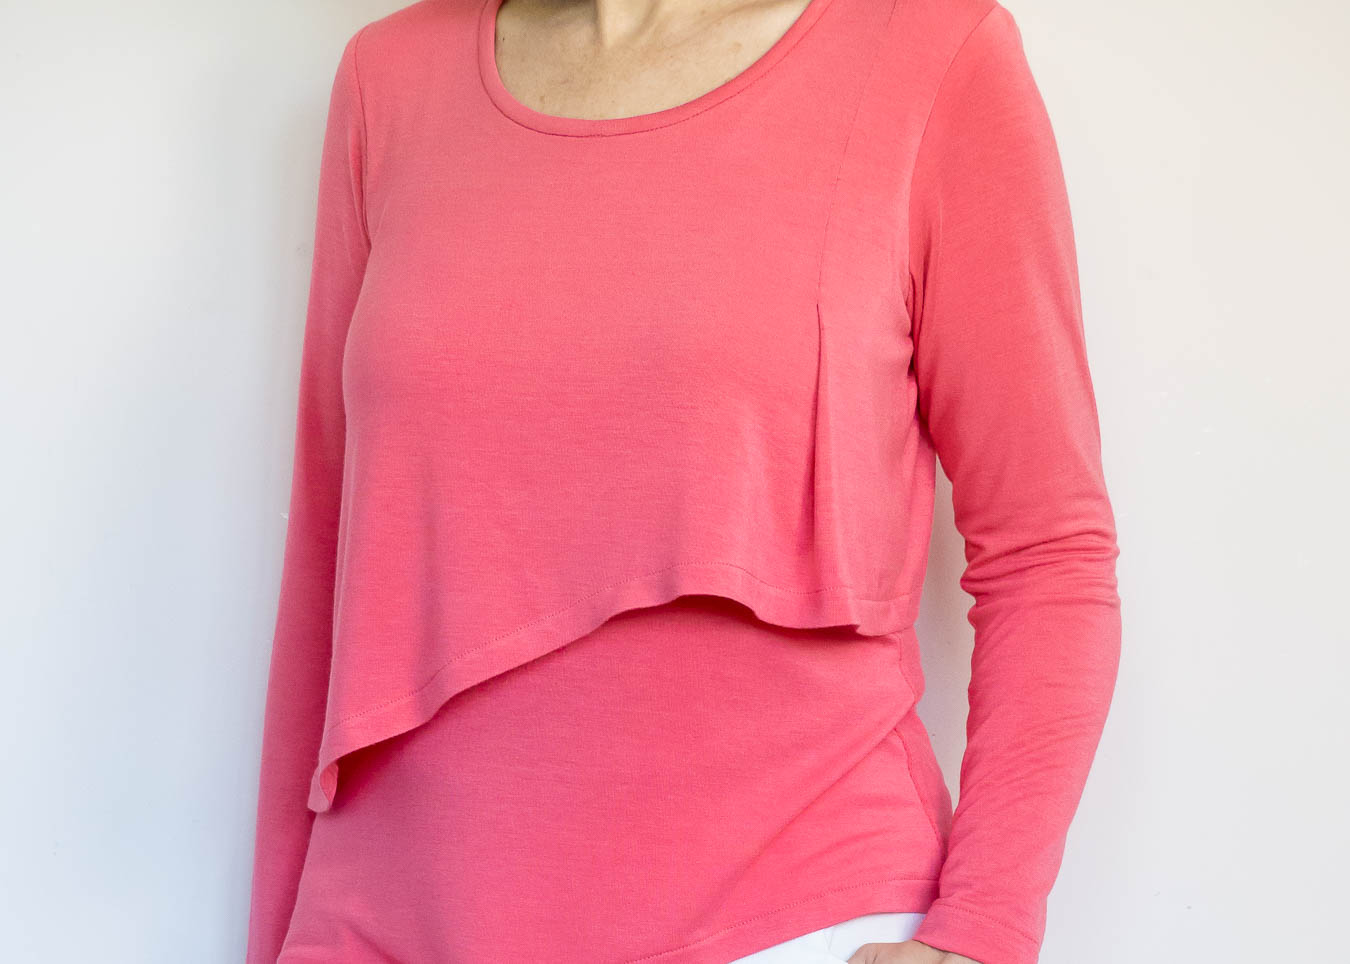
The reason that I loved double layered top number one was its versatility and the fact that it was a step up from your basic long sleeved tee. The two layers and asymmetry were a bit different and I loved the fact that I could tuck in the lower layer (it’s not bulky) which meant I could wear it with things like wide-leg trousers, skirts, or culottes.
The design
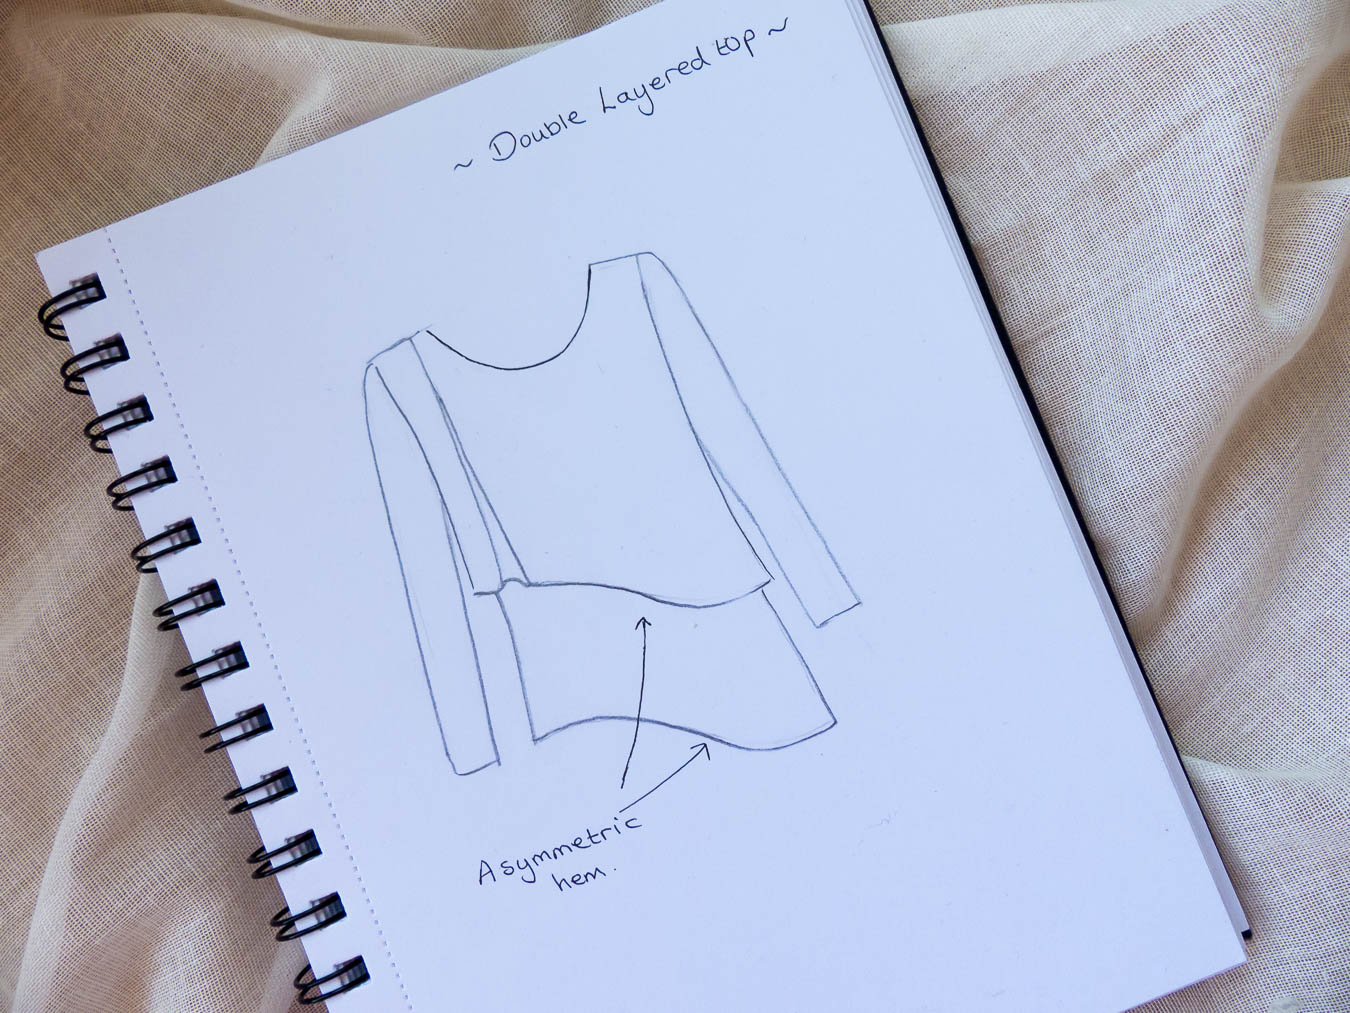
Here’s the drawing that I shared recently on Instagram. As you can see, the hem is quite curvy and I added a little pleat on the top layer at on side only for a little bit of emphasis on the drape.
The pattern making process for my DIY double layered top
I’ve broken it down into bite-sized chunks:
- My starting point is a basic long sleeved tee shirt. I actually made my original basic shape from an old RTW top (from New Look) that I cut up and took a pattern from. Any basic tee design will do such as the Susan top by Style Arc or Burda 106B 02/2011
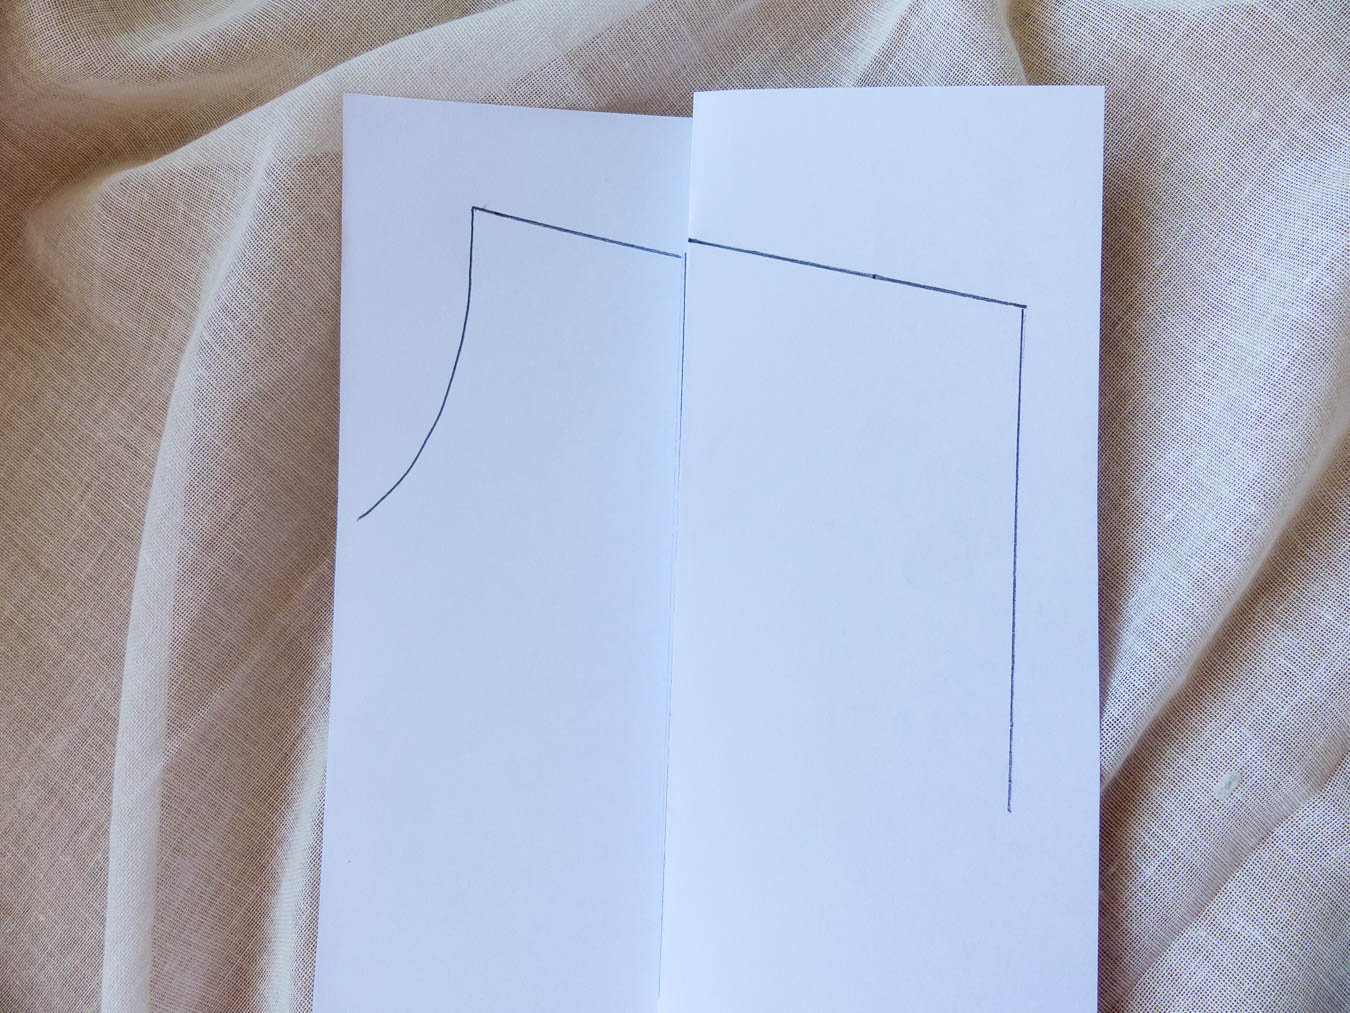
- First I traced off the shape of the front and back and drew the modified curved hem. You can either draw freehand or use a french curve. Just be sure to get back and front the same and mirrored so that they meet up correctly at the sides.
- Now trace off the front and back again but this time draw the shorter length and shape the hemline to match the longer layer. From the armhole bring the sides out a tiny bit wider down to the hem. Draw the curved hems again. On the shorter layer, the longest side is a little lower than my waistline and the higher side is just a little below my bustline.
- This next bit is optional and it’s the added pleat……First draw a line down vertically from the shoulder line.. Cut through this line and spread by about 3”. Trace off the spread out pattern piece drawing the two vertical lines and the centre line of the pleat. You’ll need to true up the shoulder line where the pleat folds. An easy cheat way is to get a scrap of paper and draw on your vertical lines. Fold the paper in the pleat formation and then draw the shoulder seam slope. Cut across the slope and voila…you have a little template for the top of your pleat detail.


- The pattern is now ready to cut in the fabric.
- Sew up both the top and under layers then simply place the upper layer over the underlayer. Lightly baste through both layers around the neckline and armholes, and stitch the sleeves in as usual.
- The final touches are to hem the body and sleeves and to add a simple neck binding using whichever method you like the best.


Styling
It’s sooooo versatile! I’ll be wearing this top worn completely out over slim jeans or slim legged cropped trousers… and I’ll be wearing the lower layer tucked in with the top layer hanging loosely over wide-legged trousers, culottes and ‘A’ line skirts for a cropped effect that provides midriff coverage. By the way, on one of my progress Instagram posts, many people said how nice it would look without sleeves too, so that’s another possible option for this style.

In this happy Spring coral pink shade, I think I’ll get quite a lot of wear out of my new top. I’m glad I made a replacement for the one that wore out and it goes with at least 6 different bottoms. I call that a win 🙂
Speaking of outfit combinations, it can’t have escaped your notice that so many sewers are joining in MeMademay again this year. It’s my second year of participating and although I already tend to wear at least one me-made item a day, I find taking part useful in assessing what works or no longer works in my wardrobe and donating or refashioning some items. I’ve already changed the neckline on one top that was uncomfortable and it made such a difference. You can still take part if you want and you’ll find all the details of the month-long community challenge over on So Zo blog. Good luck!
With a fabulous weather forecast for the upcoming Bank Holiday weekend, I’m planning on mixing up a bit of gardening in with my sewing over the next few days. It would be a shame not to enjoy the sun. I hope you have a nice long weekend too. ‘Til next time, bye!
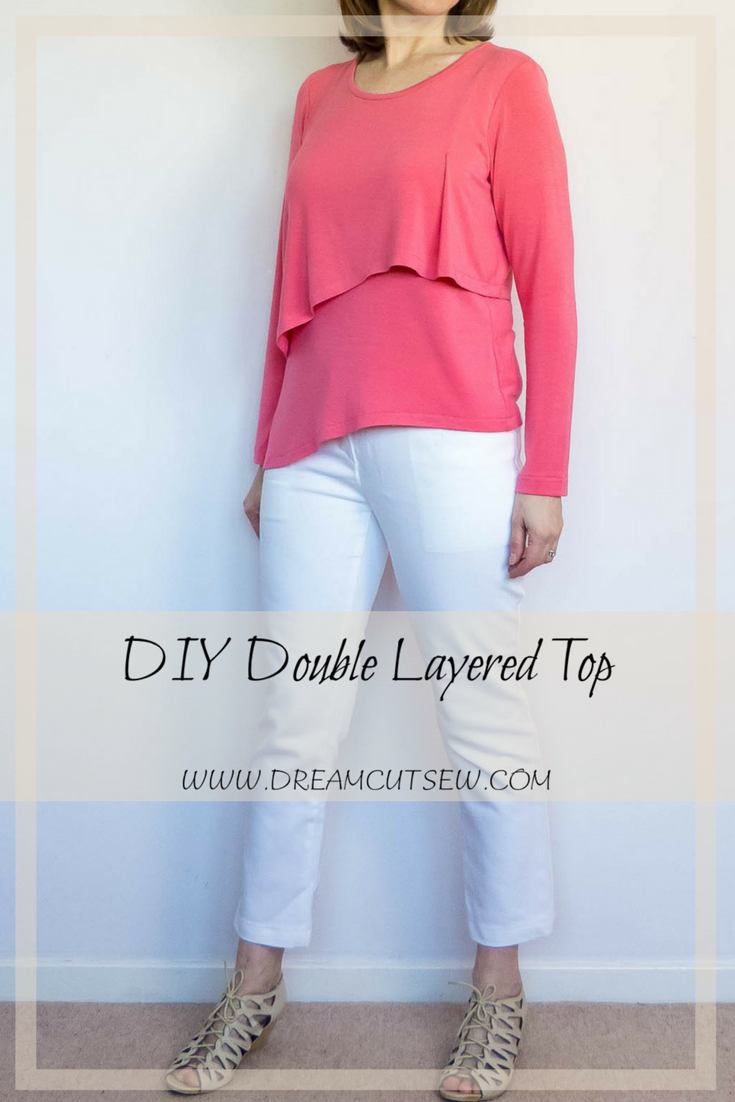
PIN FOR LATER

Love, Love, Love it!
Author
Thanks ever so much Rosemary!
Diane that’s lovely. T shirts are so boring usually and that really lifts it. I bet it would be lovely in bamboo jersey too. I’ve just the fabric but not enough!
Author
Thanks Maggie. Exactly…Tee shirts can be necessary but a little boring and I much prefer to elevate them a bit. Ooh yes, bamboo jersey would be gorgeous for this sort of style. Maybe you can play pattern Tetris with your fabric?
Thanks for sharing. Very nice pattern. Love the colour too.
Author
Thanks Vicki! It’s my happy colour 🙂
Absolutely gorgeous. I will have to try this.
Author
By all means Celeste and thanks for your lovely comment.
Thank you for for the tutorial, Diane! I love the fabric and pattern of combination. It’s a perfect fabric choice:)
Author
Thanks for your lovely comment and I’m so pleased you found my explanation useful Eli.
This is brilliant! The pleat really makes it, I love it! Thanks for the how-to, going to save it now.
Author
Ahhh, that’s great…thanks Lynne!
I’ve been trying to read this post since the first day you published it – I finally got a minute to read it in depth. You are an amazing designer – AND you make it all seam so simple. You know I want to give this a try! Thanks so much for sharing!
Author
Oh wow, thanks so much Faye. I love to design and inspire others to have a go themselves. I know your version will be fab.
This is stunning, and your directions are thorough and easy to follow. I will be making this for sure.
Author
Thank you! I’m glad you’ve veen inspired to make one yourself 😊