
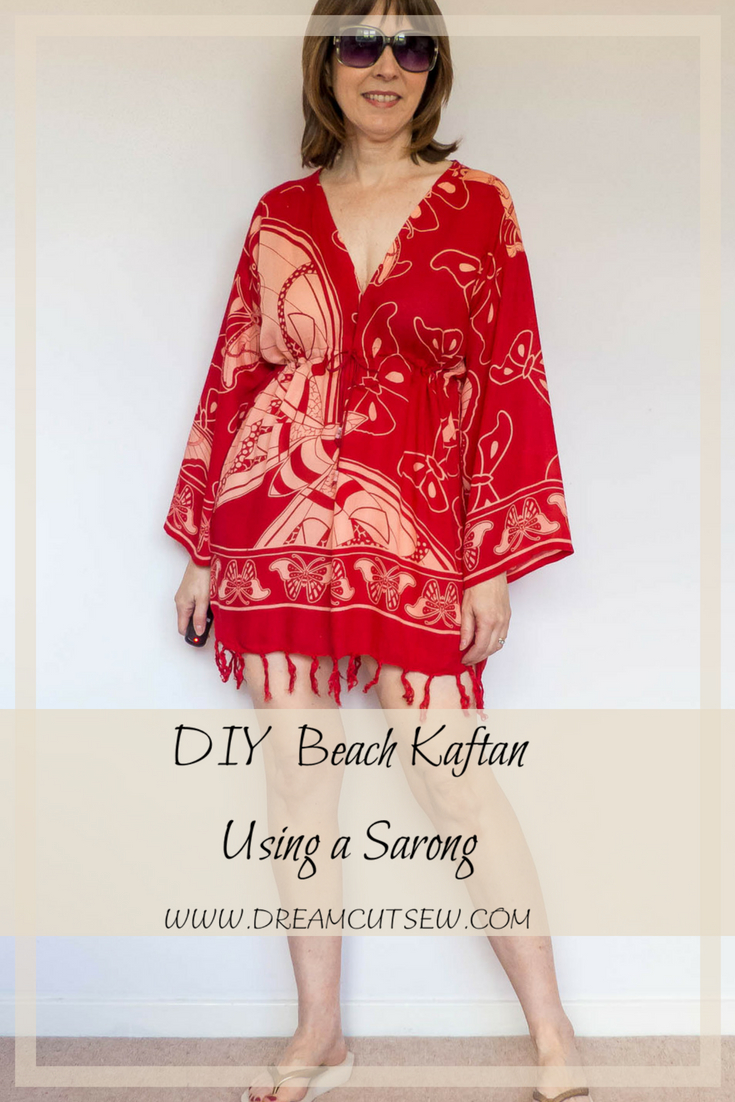
The lovely Summer weather has prompted me to share with you a beach kaftan that I made for my holidays last year. I ran out of time to blog about it last year and then last week I remembered that I needed to share it with you and of course it’s the perfect time as we’re having a prolonged heatwave in the UK at the moment. (apologies for my Southern hemisphere readers who are going through Winter right now (I will be sharing something suitable for cooler weather in a couple of weeks 🙂 ).
So, you know when you go meandering along the streets when you’re abroad and there are lots of lovely gift and souvenir shops to browse in? Well, often when I’ve been on my holidays to Greece I’ve thought how lovely and colourful the large fringed Sarongs looked and the year before last I bought a couple of them because I loved the fabrics (one was red, the other one purple)… However, I don’t know about you but I’m not really a fan of just tying a large chunk of fabric around my boobs. For a start, I don’t want the extra bulk and secondly, I want something that protects my shoulders and arms from the sun when I’m walking to and from the beach. I knew exactly what I was buying the sarongs for….a kaftan.

So let’s get down to talking about how I made mine…
Now, obviously with a Sarong, if you’re buying it with the sole reason for re-purposing (see here for another re-purpose project), you need to make sure it’s a generously sized one. I held the ones I bought up by me in the shop….I folded them over with the fringes at the bottom and I could tell it would be wide enough and long enough. If in doubt though, you could always supplement with off-cuts from your stash at home. The ones I bought were very cheap too…only a few euros each.

DIY Beach Kaftan Using a Sarong: The Basic Design
My pattern pieces were very basic shapes and I didn’t use a specific paper pattern for them apart from the yoke part at the top (I found a shirt yoke pattern piece from my pattern stash). These are my rough shapes and layout :

It is literally just straight pieces and the sleeves are just rectangles with a slightly curved top. If you want to use a pattern you could perhaps try any basic tunic or kimono pattern as a starting point. The Style Arc Fleur top would be a good starting point.
To enable me to get all of the pieces cut out, I had to add a seam the yoke down the centre back, but apart from that, everything just about fit onto my fabric.
Sewing and Finishing
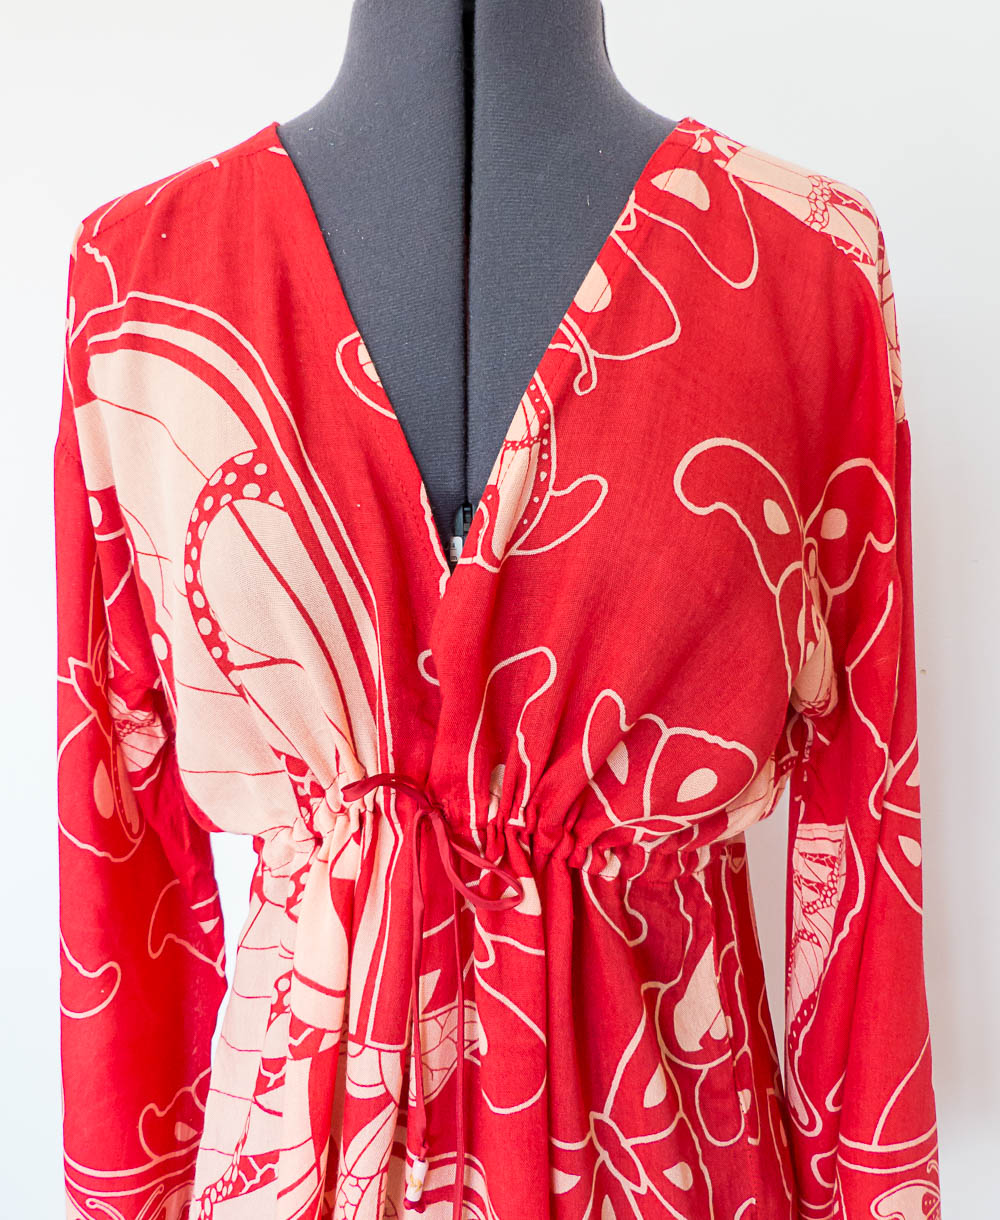
Most of my seams were just stitched and then overlocked together. No fitting was needed apart from cutting the V neck shape and eyeballing the sleeve length. To finish off the neckline you could just add a binding. I only bound the back neck as far as the from yoke seam and for the ‘V’ neck I simply turned back the raw edges. Next time I would bind it all I think.
For the channel that the drawstring goes through I used a scrap of red lining fabric, but before I stitched it on to the inside I made two button holes at centre front about 2” apart for the ties to come out of. I ironed on a small piece of interfacing where the buttonholes were stitched to strengthen the area. The tie is just a long tube made from the same red lining fabric, but any type of cord will suffice. I decorated my tie ends with some pretty beads that I found in my bead collection.
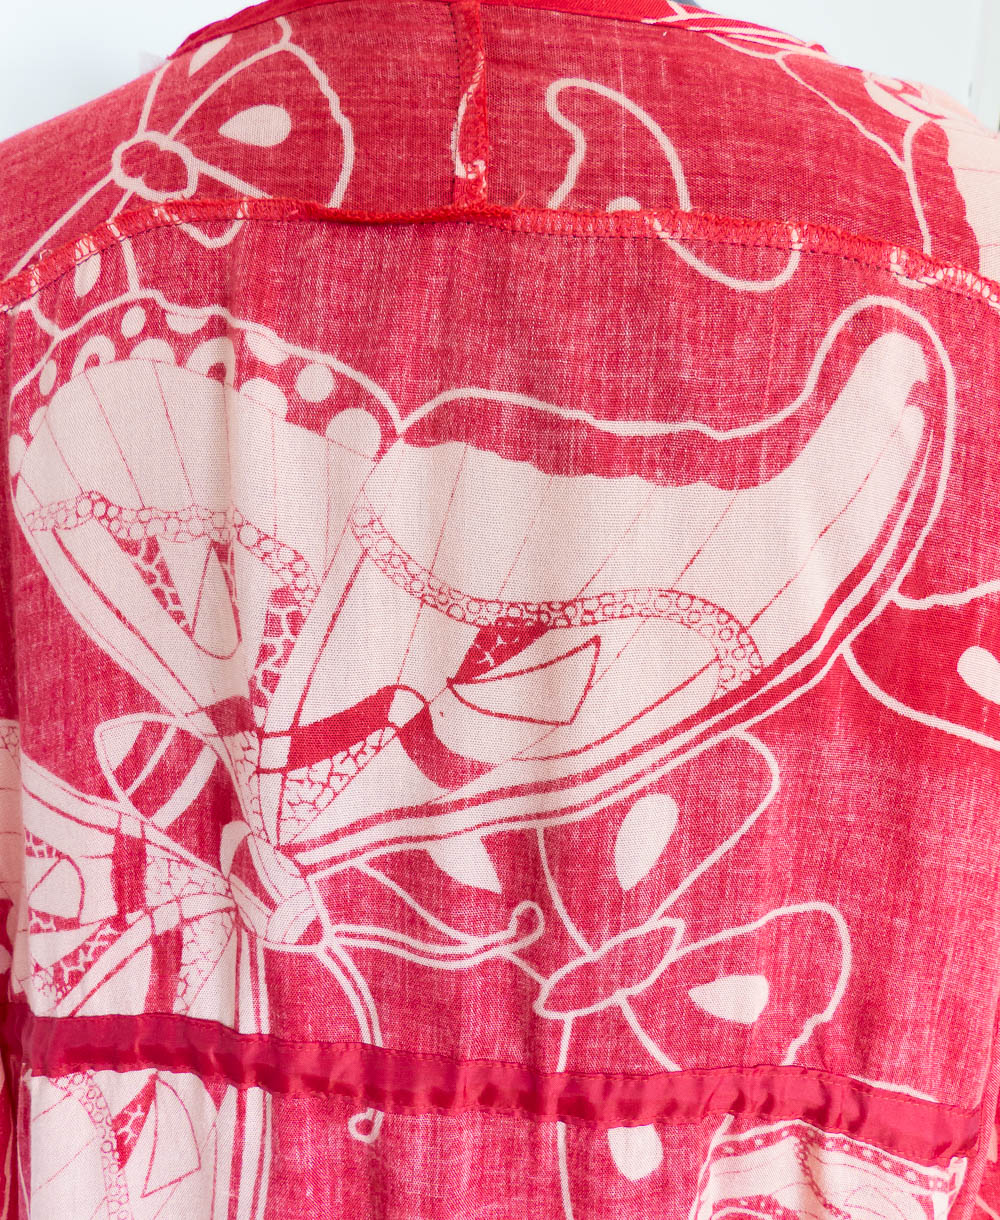
As you can see. I left on the fringes for the lower hems but I chopped them off the sleeves and did a simple machined hem.


In this lovely bright red lightweight woven viscose my kaftan is lovely and breezy to wear. I definitely feel beach ready!
Stay cool my sewing friends and I’ll speak soon xx
Pin For Later

Lovely make, Di! This will definitely come in handy in this heat 🙂
Author
Thanks, Alex! Yes it will! I’m loving this great Summer that we’re having.
Very pretty! You are ready for the pool and beach! 🙂
Author
Definitely! Thanks Lisa xx
What a good idea – and I love the fringing. This is very smart, and I am sure you will enjoy wearing it.
Author
Thanks so much Sarah Liz!
How lovely! I love the colour and how you used fabric. It looks great on you. Beautiful job!
Author
Thank you, Eli! Every time I repurpose something I think of the lovely transformations you do with your kimonos xx
I’m thinking of making a longer one out of two sarongs.
Author
good idea!