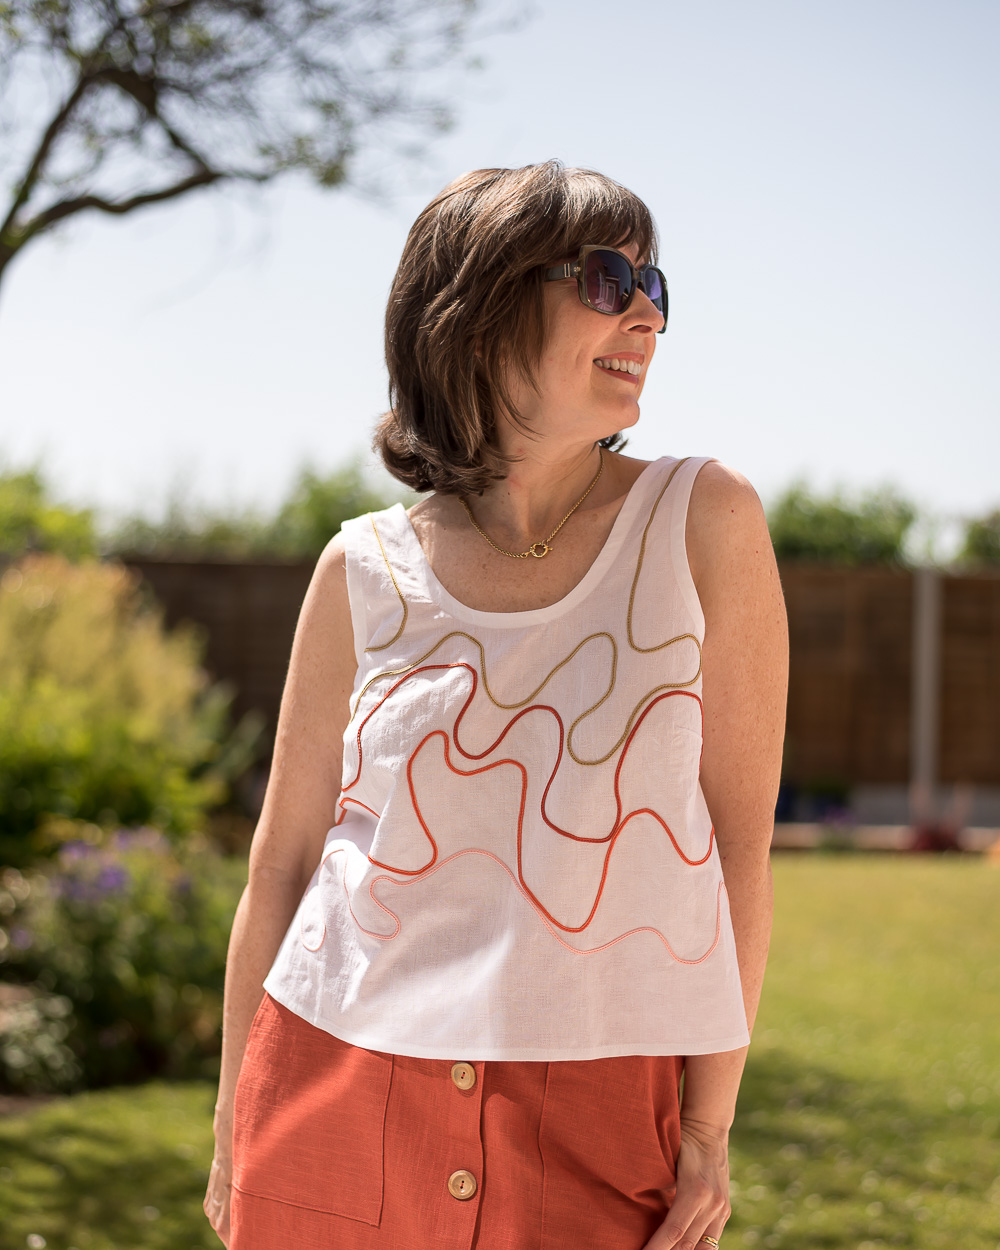
It’s that time of year again when a new Fibremood magazine is out and I got the opportunity to sew up a pattern of my choosing from it ahead of the launch which is today. So say hello to the Fibremood Zita tank with my little addition of some creative flair with braid.
{ad/gifted pattern}
****Disclaimer: This post contains some affiliate links. This means that I may make a small commission at no cost to you if you click through and purchase something that I link to. You can read my full disclosure policy here (thank you for supporting Dream Cut Sew )
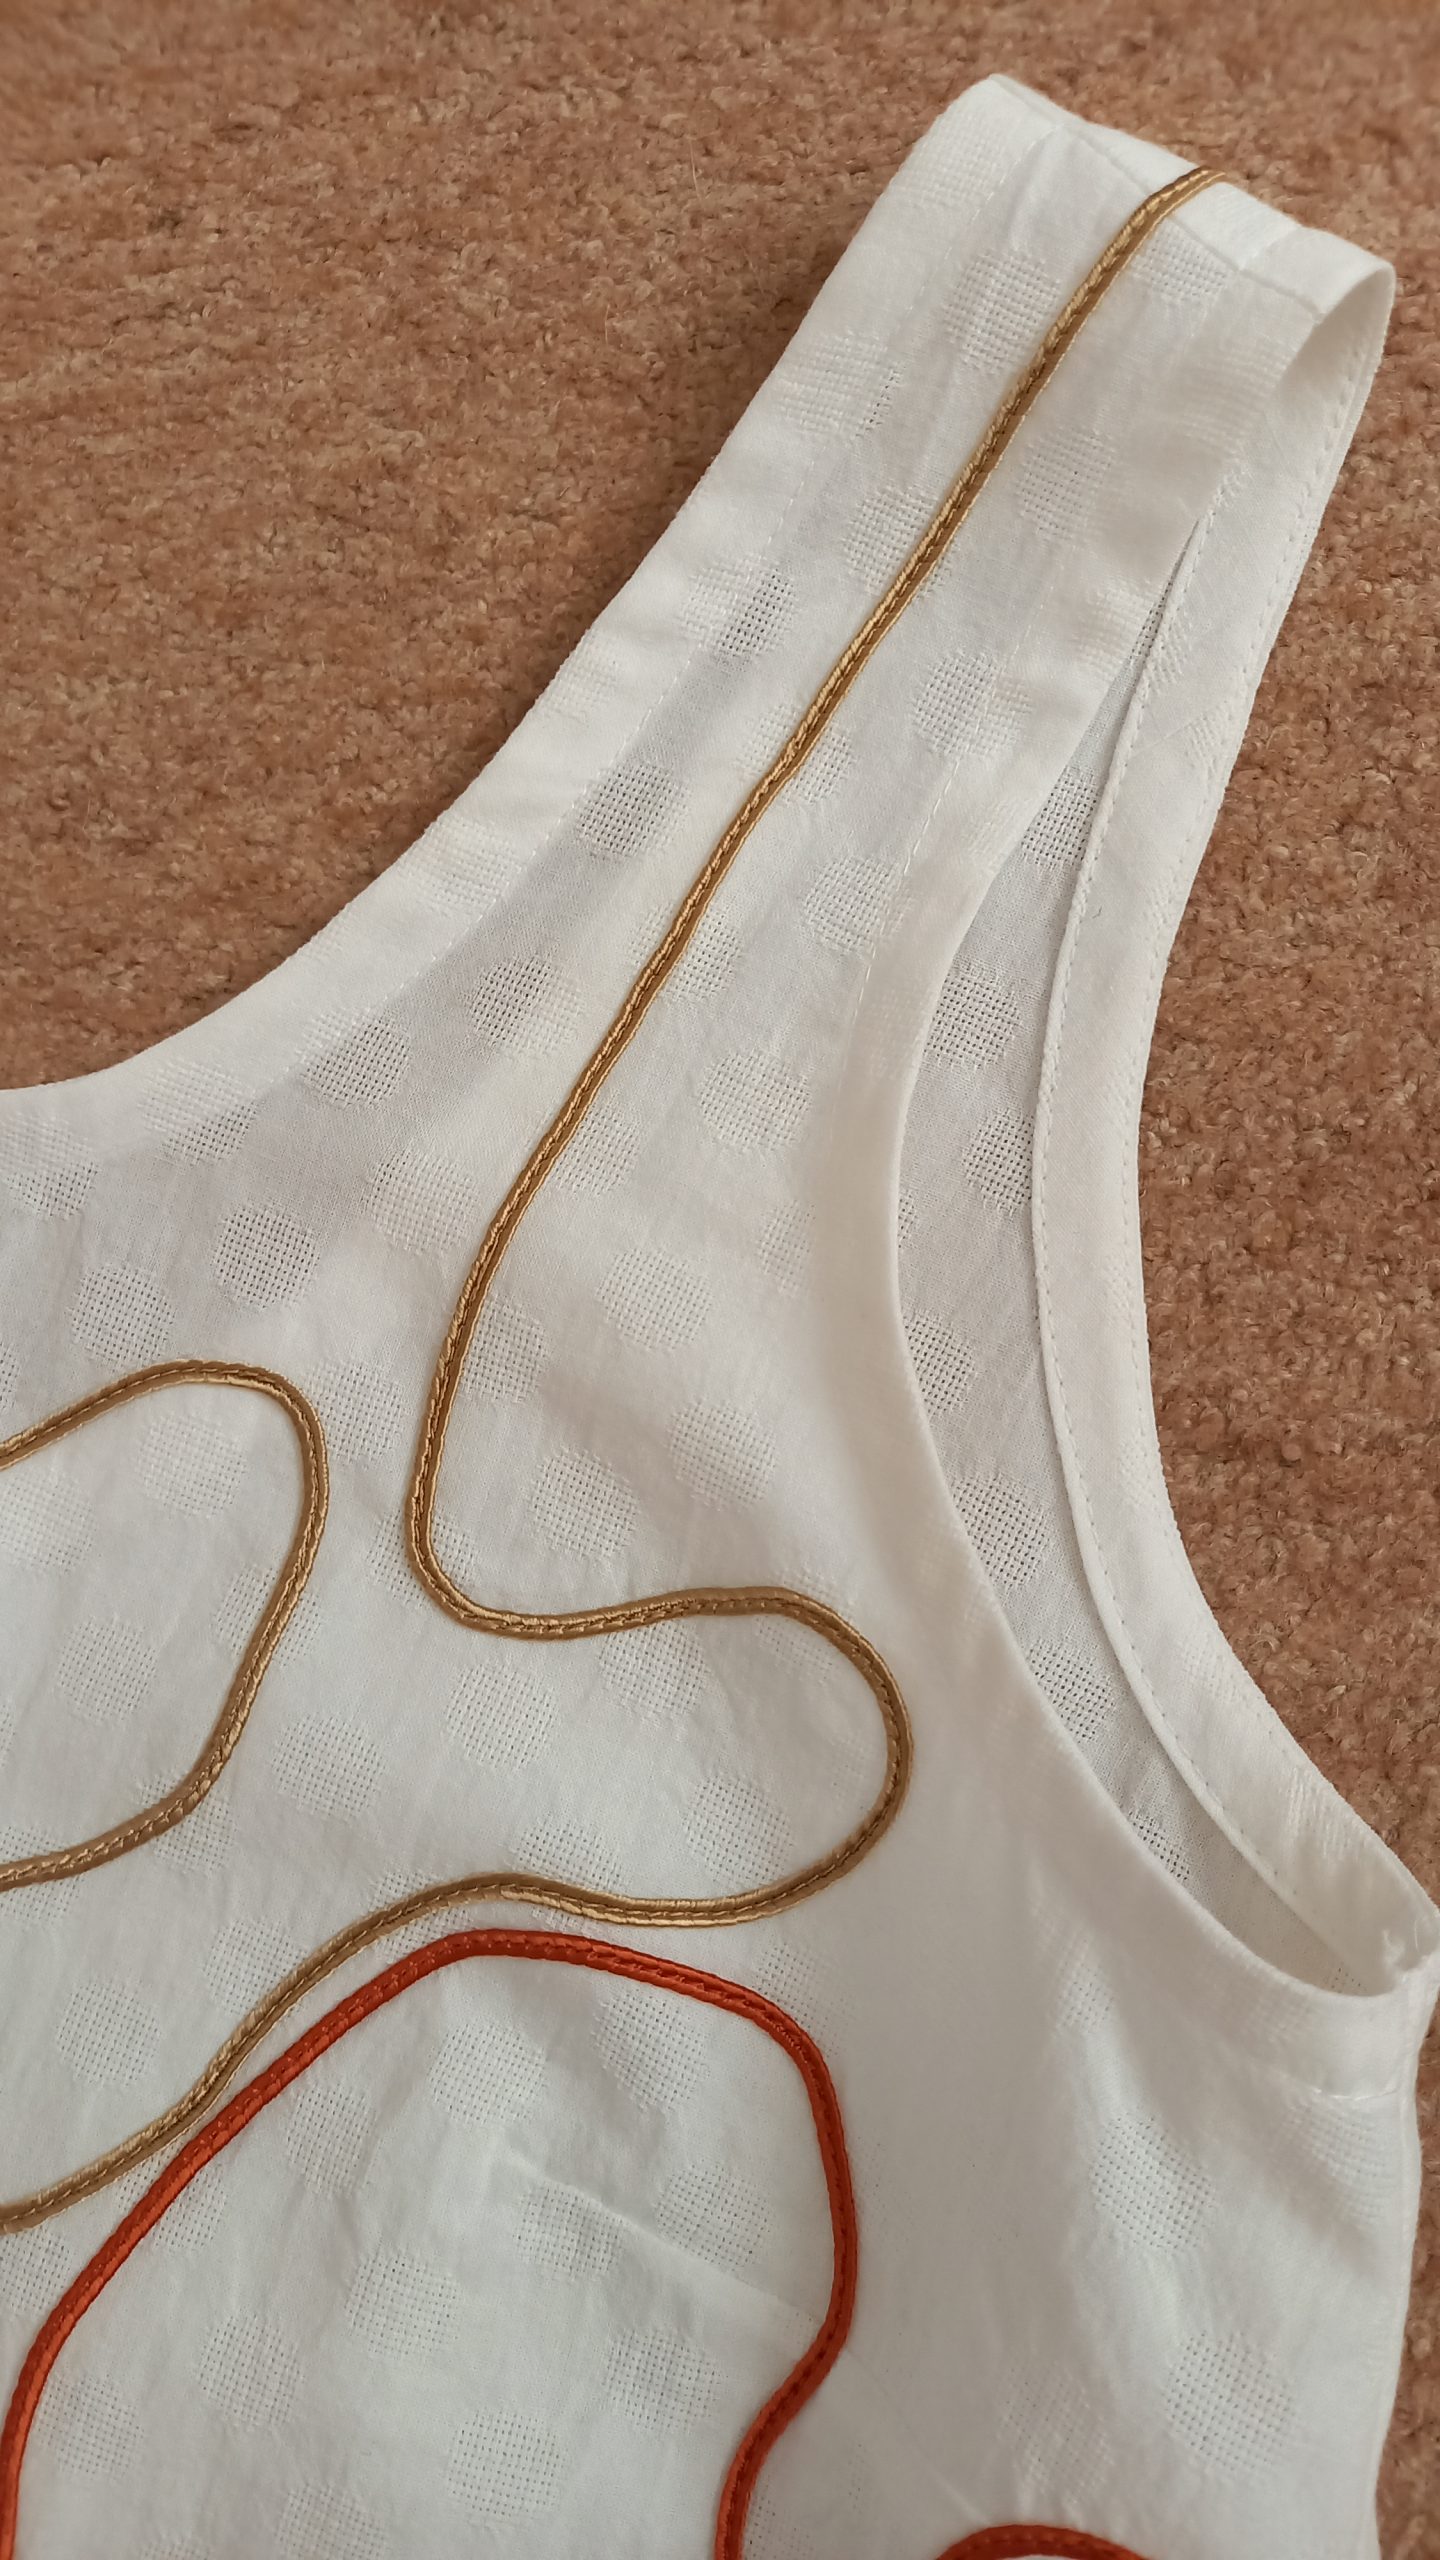
I wanted a pretty simple project so I chose the Zita pattern which is a summer tank that can be a crop top a hip-length stop a tunic address, in fact, any length that you like. What I love about the design is the scoop neck echoed by an even deeper scooped back for an easy-breezy vibe. I love that It has bust darts and the flat binding finish around the neck and armholes makes for a lovely neat finish.
In my cotton dobby fabric (from Clothspot and a leftover piece from this top) I cut out a size 38 and the only alterations I did were to raise the back neckline scoop by a half-inch so that it covered my bra band and I adjusted the shoulder line for my forward rolling shoulders.
So first of all I stitched up the shoulders and darts and then I did all of the lovely flat bias facing to the neck and armhole edges…and that’s where the fun began…
So you know I said I wanted a simple project? Well, when is anything simple when I get my hands on a new make … lol! I decided to get creative and apply some different shades of Soutache braid. It’s something that I’ve tried before and knew I enjoyed doing (see this dress here). I ordered some warm orange colours, some gold tone and some pink from eBay and then I got to work.
I played around with a few designs and ended up enjoying the way that some random wavy lines looked. I started with the first gold-tone braid ( which also goes over the shoulders and around the back neckline) and then added each of the other colours one at a time to make sure that the lines looked pleasing to my eye and related nicely to one another. I drew faint pencil lines for each wavy line so that I could follow it as I applied it. It was actually quite easy to apply by sewing through the middle groove of the braids. Ooh, by the way, I did pre-wash the braids to make sure they didn’t shrink after sewing them onto the garment.


Once all the braid was attached I stitched up the side seams and finished off by stitching up the hem…
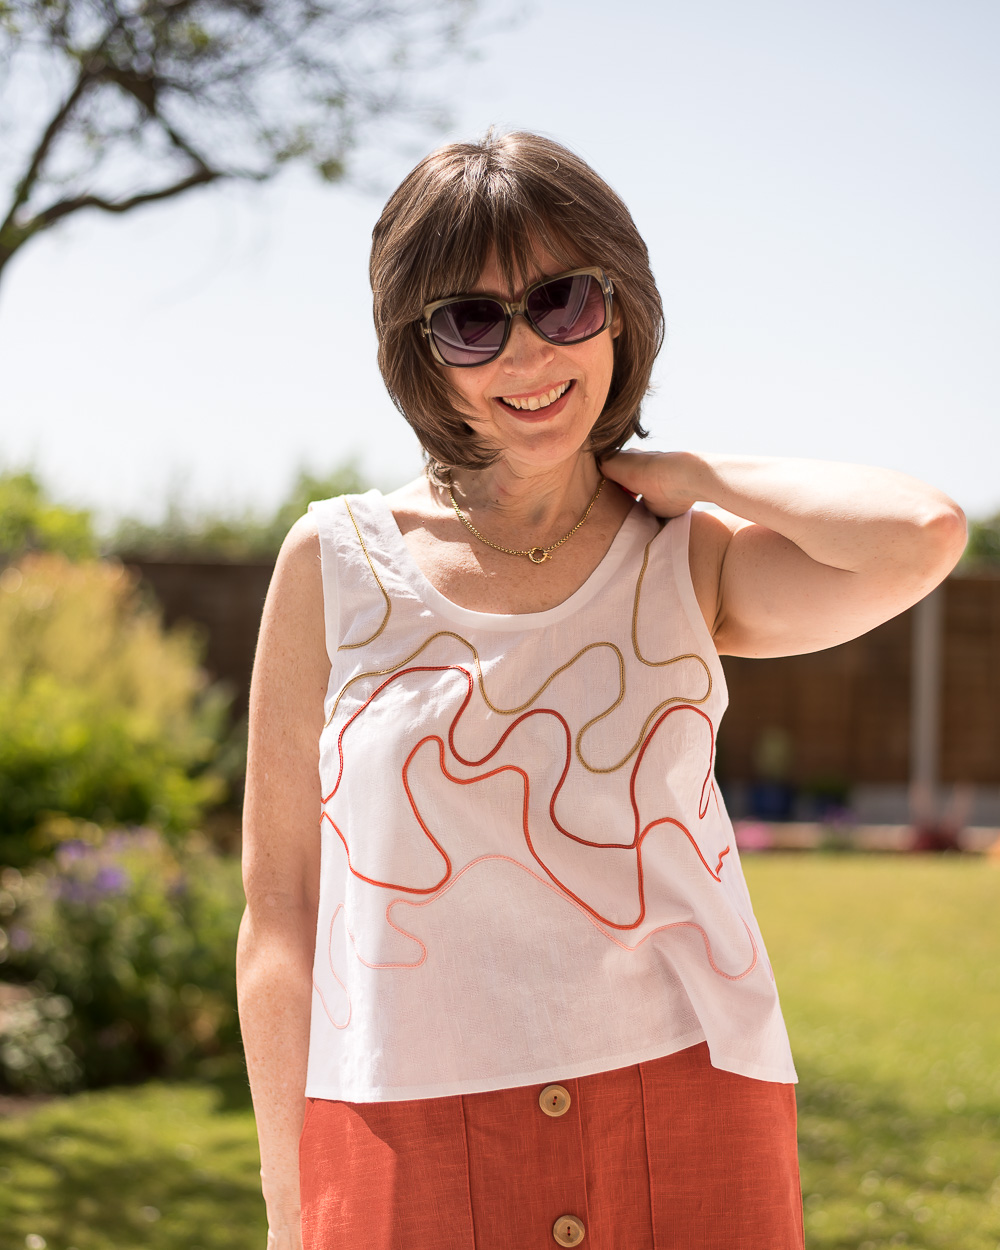
I’m really happy with how my Zita Tank turned out and can’t wait to wear it on holiday very soon.
Thanks for reading and don’t be shy to leave a comment.
See you soon!

Pin For Later


This is such a versatile pattern and you’ve made me want to do something similar to your soutache braid for the summer. Your version looks so polished and I really like it, so good!
Author
Thank you, Sue! Ooh yes, you should try it out…would love to see what you come up with, as you’re always so creative.
I love this so much. It looks professional, as all of your makes look. Thank you for the inspiration. I may try this. Once I get over this REBOUND COVID.
Author
Thank you, Sally! That’s really lovely of you to say.
Hope your pre-covid energy comes back soon.
A really nice blouse. Very creative.
Author
Thanks ever so much, Elizabeth!
Love it. Your colour choices are perfect. Great pattern choice.
Author
Thanks, Pat! I’m really happy with how it turned out.
Beautiful! You are an inspiration Diane 🙂 The fabric and braid really make this simple tank shine – very designer. I did something similar to the Nenuphar Jacket by Deer and Doe, couching along the band lines with a ‘recycle-silk rope’ from India (ebay). Loved the process and the result was so lovely I promised myself to do this again. I’ve never sewn soutache braid and I’m off to find myself some on ebay 🙂 Love the delicate yet strong lines it makes on your top.
Author
Ohhh, thank you so much as always, Kathleen!
Your couching detailing sounds gorgeous!
Hi Diane,
Not sure how I missed this blog post: I love your application of braid and info on order of construction! This top is really such a nice summer garment and the braid design is fantastic.
Do you “baste” the braid down in any manner or just hold it on your pencil markings and sew slowly? It looks beautifully-applied!
Also, the bias binding around openings is gorgeous. Can you explain the difference in use between a bias binding vs. facing with a narrow stitched facing, which looks similar from the outside? Thank you!
Author
Thank you, Joan. Yes, I just held the braid as I went and tried my best to follow the faint lines.
As for the ‘facings’… I would say that with a standard facing, you typically cut the pieces that follow the same grain orientation of the area you’re facing; usually, the piece is interfaced. My edgings are literally cut as bias strips in the same way that you cut bias binding and can be either applied folded double or as a single layer. They aren’t interfaced and make for a softer pliable finish.
Thank you, Diane. Maybe I am confusing the mini facings one can do on knit necklines or armholes, which is very much like a bias binding as you’ve done with a stable woven. TBD!
Thank you re. the ‘how’ for sewing the braid! I would love to try your technique on a top of my own. Yours went on so smoothly!
AND: I forgot to add that I love how you carried the single gold braid to the back and followed the pretty back neckline: definitely less is MORE — very elegant and interesting!
Author
Thanks!