As promised, here is the second of two posts covering the saga of my tailored tartan jacket. But if you’re standing there scratching you’re head wondering what the heck I’m on about here is part 1 for your delight and delectation….you’re welcome 🙂
Cutting A Lining For My Tailored Jacket
Well, I left you with a cliffhanger at the end of my first post when I’d just finished constructing the body of my jacket. So then I moved on to the lining. I had no pattern pieces for it so had to work it out for myself and unfortunately, I made a crucial error on the front piece… more on that in a while though…
So when you cut a lining pattern the armholes are always cut a little bit higher, the sleeve head is cut slightly shallower in it’s depth and the sleeve width is usually a little bit narrower. I also always add a centre-back folded pleat in the lining which gives you room to move easily across your shoulders.
It Was Meant To Be…
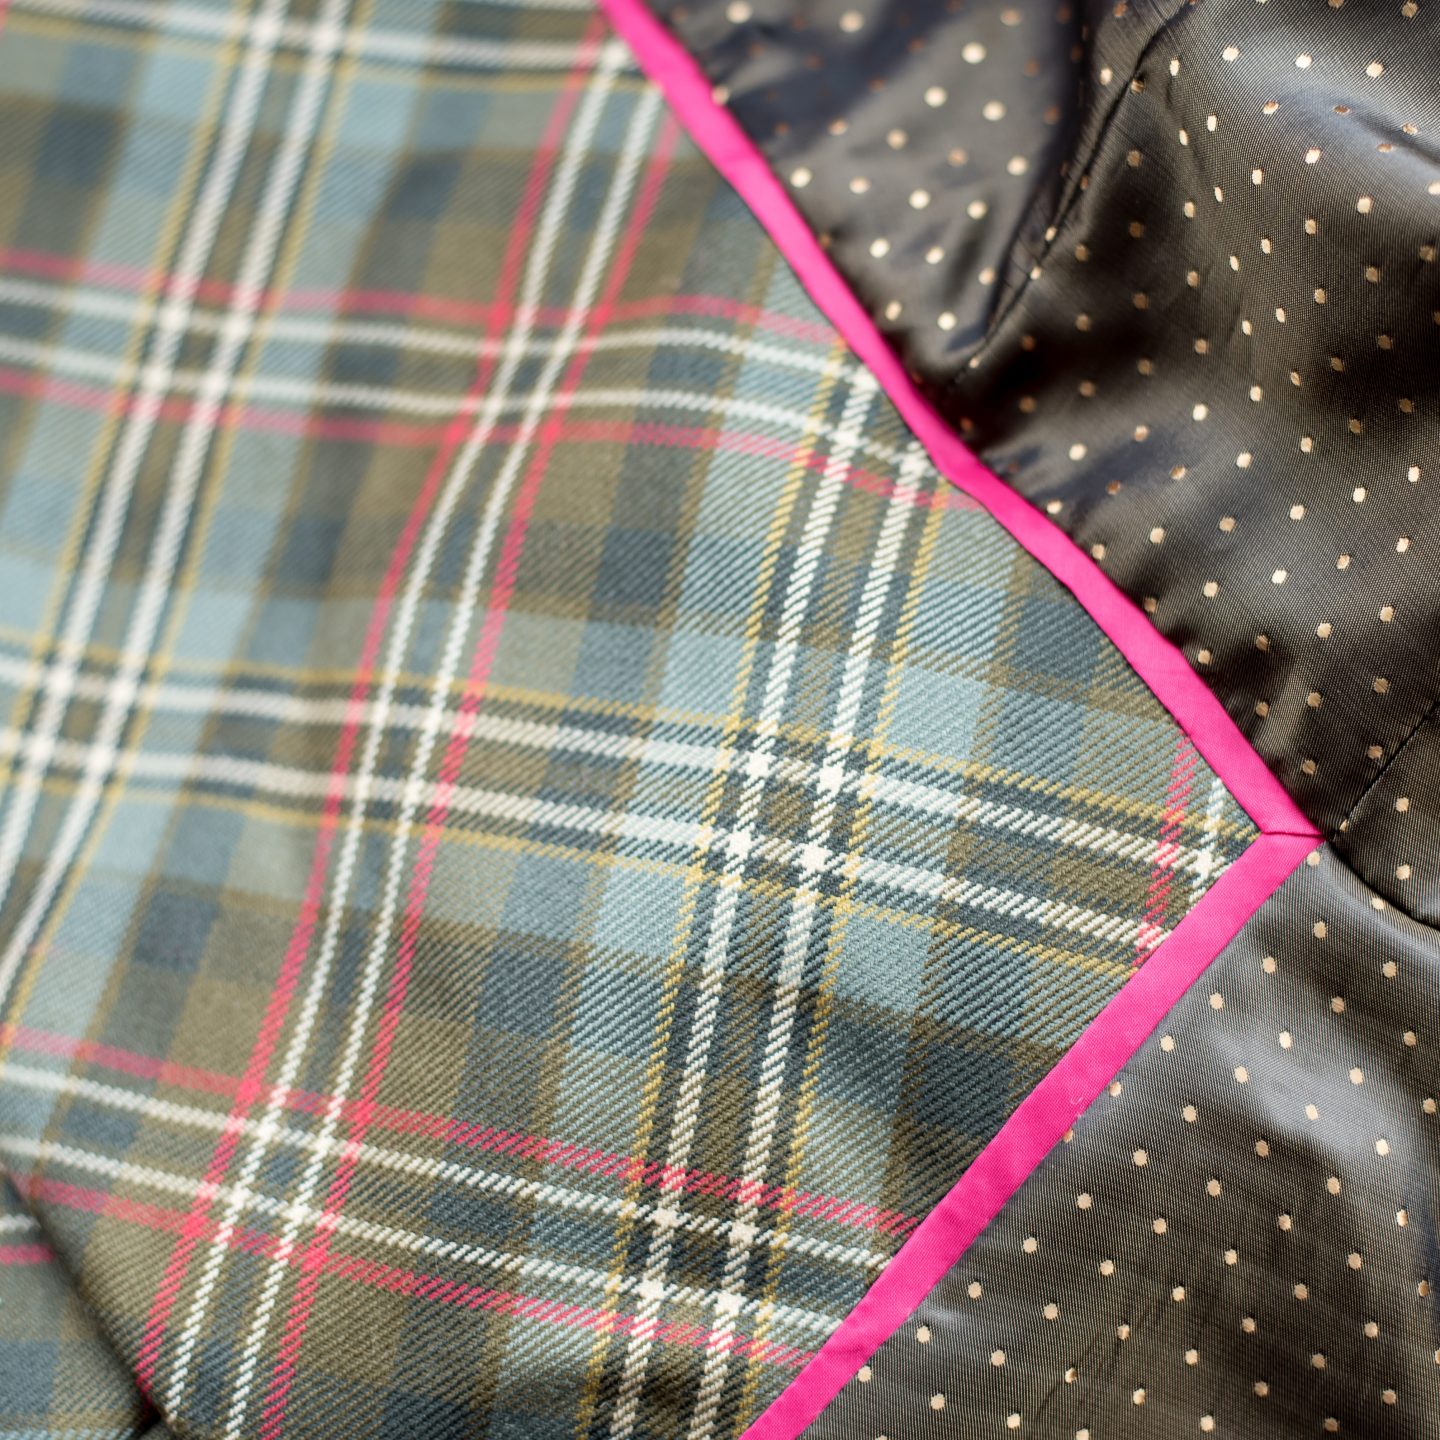
That error then…well, it was regarding the front section that attaches to the front jacket facing. I’d cut it waayyyy too narrow (insert sad face emoji here) however, some things are meant to be. You see, the olive-coloured shiny viscose lining that I’d already cut out showed every single iron indentation when I pressed it and frankly it just looked messy. I looked in my stash and found a lovely length of olive-brown acetate-blend lining with woven gold spots on that was probably meant for lining some leather jackets which are on my very long to-do list. There was enough length for my tartan jacket with plenty left over, hurray! And it turns out that the spotty lining is so much nicer in quality too, result!
I cut that naughty troublesome front piece much wider and I was soon back on track. Then I decided that I wanted to make the insides extra pretty so I thought why not add a coloured insert between the fabric and lining. I chose a pink coloured heavyweight lining remnant to match the pink lines in the Tartan. Very snazzy don’t you think?
(I’ll be covering how I did the colourful insertion in next week’s post with a tutorial)

I didn’t bag out the whole lining. Instead, I machined around the fronts and the back neck and I finished the back hem and sleeve hems by hand. Just before the final hand stitching though, I went up inside the jacket and attached the lining at the armhole by the shoulders and the armpits with crocheted thread loops. It stops the lining from shifting about.
Little Details Make All The Difference
Oh, and I made myself a fancy label by pulling out some threads around a square of tartan fabric to make fringing and sewed my woven label on top. Check this out 🙂


Finishing touches were buttonholes and buttons plus a few stabilising stitches to anchor the lapels to the top collar and also underneath the front bust pleats to help them to lie properly.

A final good press all over and that’s it, done! And I love it!

It’s such a comfortable jacket to wear and fits me like a glove. It was a verrrry long project but so worth the long slog and very satisfying too. Probably my proudest make so far.
Of course, I couldn’t resist styling it with my favourite green suede boots and a column of ivory and stone underneath to let the jacket be the star. I imagine I’ll also style it with denim jeans and ankle boots. I also have a pink sweater that matches the lines in the tartan. How else would you style it?
I’ll leave you with more photos to pour over and I’ll be back in a few days with that tutorial that I promised.


Catch you next week!

Pin For Later


Gorgeous jacket. Have fun styling it lots of different ways.
Author
Thank you, Vicki! I’m sure I will!
It’s truly a masterpiece. Such a complicated pattern and the pattern matching is spot on. Absolutely love it😍😍😍🎉👏👏👏
Author
Aww, thank you so much, Lis!
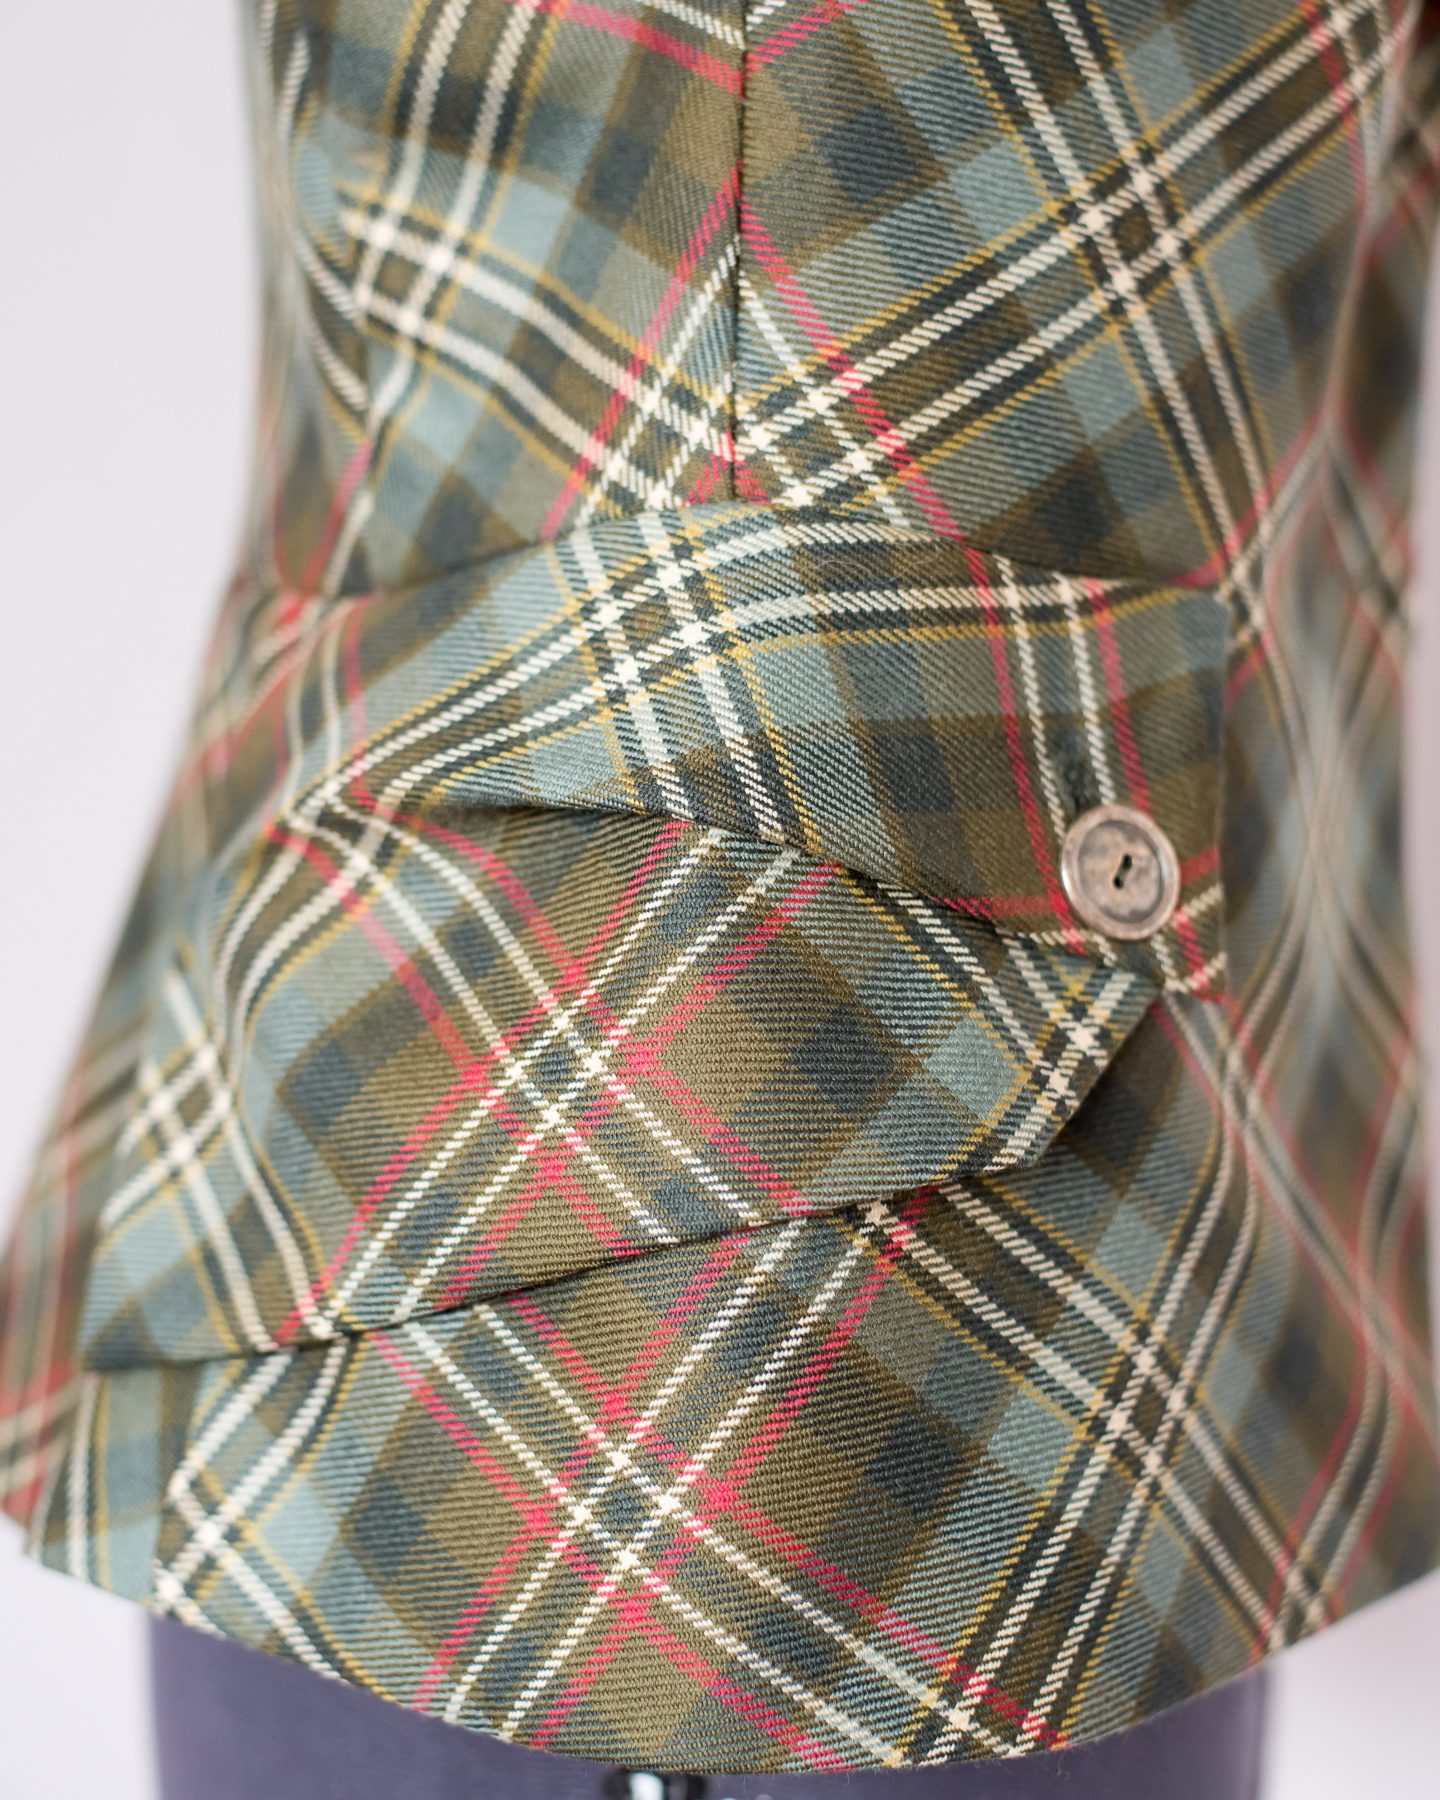
Absolutely love the pockets
Author
Thank you, Verona! Me too! So unusual.
Absolutely stunning. I love the colours in the fabric and the effect of radiating diamonds in the centre back.
You took on a challenge and nailed it.
Author
That’s lovely of you to say. Thank you, Ruth!
Thank you so much for writing this post. I love all the details you added to it. I can tell that you had put a lot of time and effort into this. It was a joy to see all the inside work and read about the whole process. I really appreciate the tips you gave too.
Author
Thanks so much for your kind words! I’m so glad you enjoyed reading about my process.
Brilliant job, your pattern matching is sublime.
Author
Thanks ever so much, Linda!
This is such a wonderful jacket and I am sure you will find many ways to style it as tartan, surprisingly, goes with so many things. I admire your patience and tenacity in pulling this out of the unfinished pile and working through the puzzle to make a truly beautiful garment.
Author
Thanks, Christine. Yes, I think you’re right, it will go with a lot of things. I must have a try on session!
Wow! Your jacket is amazing, I particularly love how all the checks come together at the centre back and peplum. Thank you for sharing.
Author
Aww, thank you so much, Alex!
Oh my goodness Diane, this is the most fabulous jacket I’ve ever seen!!!! You are a genius to work out how this went together, and the finished result is amazing. I love how you’ve cut it out too, all that matching much have taken forever, you did a brilliant job. And I always love reading gorey details of construction. I am planning on re-creating a VW Anglomania jacket, and the pockets are similar. I couldn’t really work out how the tuck in the pocket worked, but now I get it because you’ve done the hard work for me, so thank you! And I think it says a lot that one of my local sewing pals emailed me a link to your blog because she saw your jacket and thought of me. Happy wearing, and I know you’ll impress lots of muggles when you say you made it.
Author
Ohhh Lynne you made my day! So glad you love it and thank you to your pal too.
How fab that you plan on recreating an Anglomania jacket. Can’t wait to see it!
And I’ll be sure to show off my jacket to the Muggles 😁
Diane,
You have created one of the most beautiful jackets I have seen, not without challenges, and you have triumphed.
Love your green boots as well, I am also a huge fan of green, stellar work!
Author
That’s so lovely of you to say. Thank you Joy!
Your jacket is beautiful. How talented & patient you are to figure it all out. Thank you for sharing your techniques, we will all benefit.
Author
That’s lovely of you to say, thanks Carroll!
This jacket is a work of art, Diane! You should be proud of yourself — the creation itself is quite an accomplishment, but then you get to actually wear it! And look absolutely stunning while doing so. Triple win! Thank you for sharing with us.
Author
Thank you so much, for your kind words Karen!
Such a brilliant jacket, you will keep it and enjoy it your whole life. Exquisite!
Author
Ohhh, thank you so much, Sue. I’m sure I will 🙂
Positively drool-worthy. :}
Author
Thank you, Shelagh!
Merciful heavens, that jacket is stunning and the back leaves me in awe! Thanks for showing your process along the way, which is equally impressive.
Author
Ohhh, thank you so much, Leanna !I’m glad you enjoyed seeing the processes too.
Diane, you did a stellar job. I am a guy who loves tartan: I have 12 kilts. I was searching for instructions on how to make a waistcoat on the bias. I still haven’t found any that help my very rudimentary sewing skills. Anyway, tartan is an amazing medium that can go horribly wrong if not planned and handled correctly. You did everything right. I must say that those pockets are so cool. Thank you for the articles. Again, stellar job!
Author
Thank you, Brian. Making garments the bias can be extremely tricky and I needed to get the bias effect without the hassle. The block fusing really helped stabilise everything so perhaps that’s the way to go with your waistcoat.