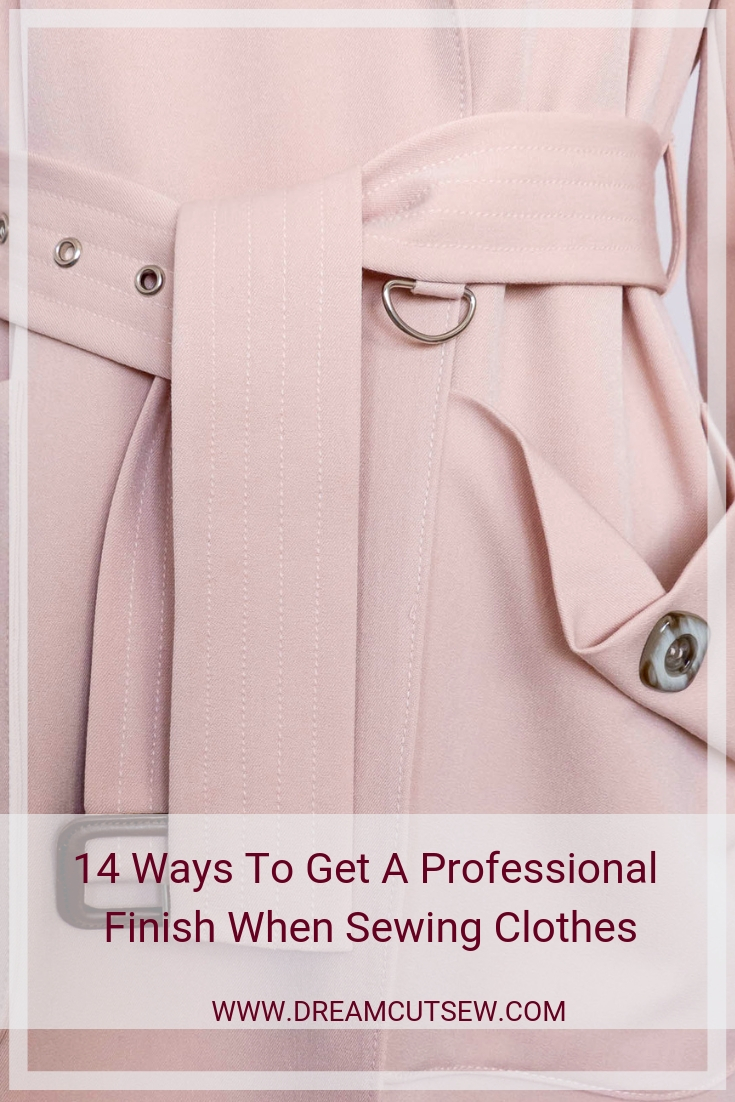
A couple of days ago I posted the above photo of the front of my blush trench coat to Instagram, to highlight some of the details and a couple of generous ladies said how professional it looked. On the back of that, I thought that I would compile a list of 14 ways to get a professional look when sewing clothes and share it here. Taking time with the various stages of sewing projects really pays off and you can take your sewing from “nice” to “Wow! You made that???”
So without further ado, let’s get cracking:
14 Ways To Get A Professional Look When Sewing Clothes
1. Try to get to know your body and perfect the fit of your clothes…I had a great comment on my post on Instagram that I want to share here…it’s by Louise (@demuredesigns) and she
2. Before cutting out, check fabric nap and or pattern direction/placement.
3. Pre-wash and preshrink your chosen fabrics. Some interfacings need to be preshrunk in warm water too. Edited to add, as mentioned by RosieLynn in the comments, is that it’s really worth paying that bit extra for a good quality interfacing as it helps garments to hang and handle well…I couldn’t agree more! One of the types that I often use is ‘Perfect Fuse’ interfacings by Palmer, Pletsch (I’m not sure I can get it in the UK anymore 🙁 ) or I use this one from Tailor Mouse
4. Think about the pattern layout to match checks stripes accurately. RTW clothes often have poorly matched patterns (my pet peeve).
I’m rather proud of my matching in this skirt 🙂 (post here)

5. Press seams as you sew….ALWAYS. Invest in a few pressing tools to enable you to get to awkward areas, for
6. Baste/tack especially tricky areas. This really saves time in the long run. When I baste I hardly ever have to rip out seams.
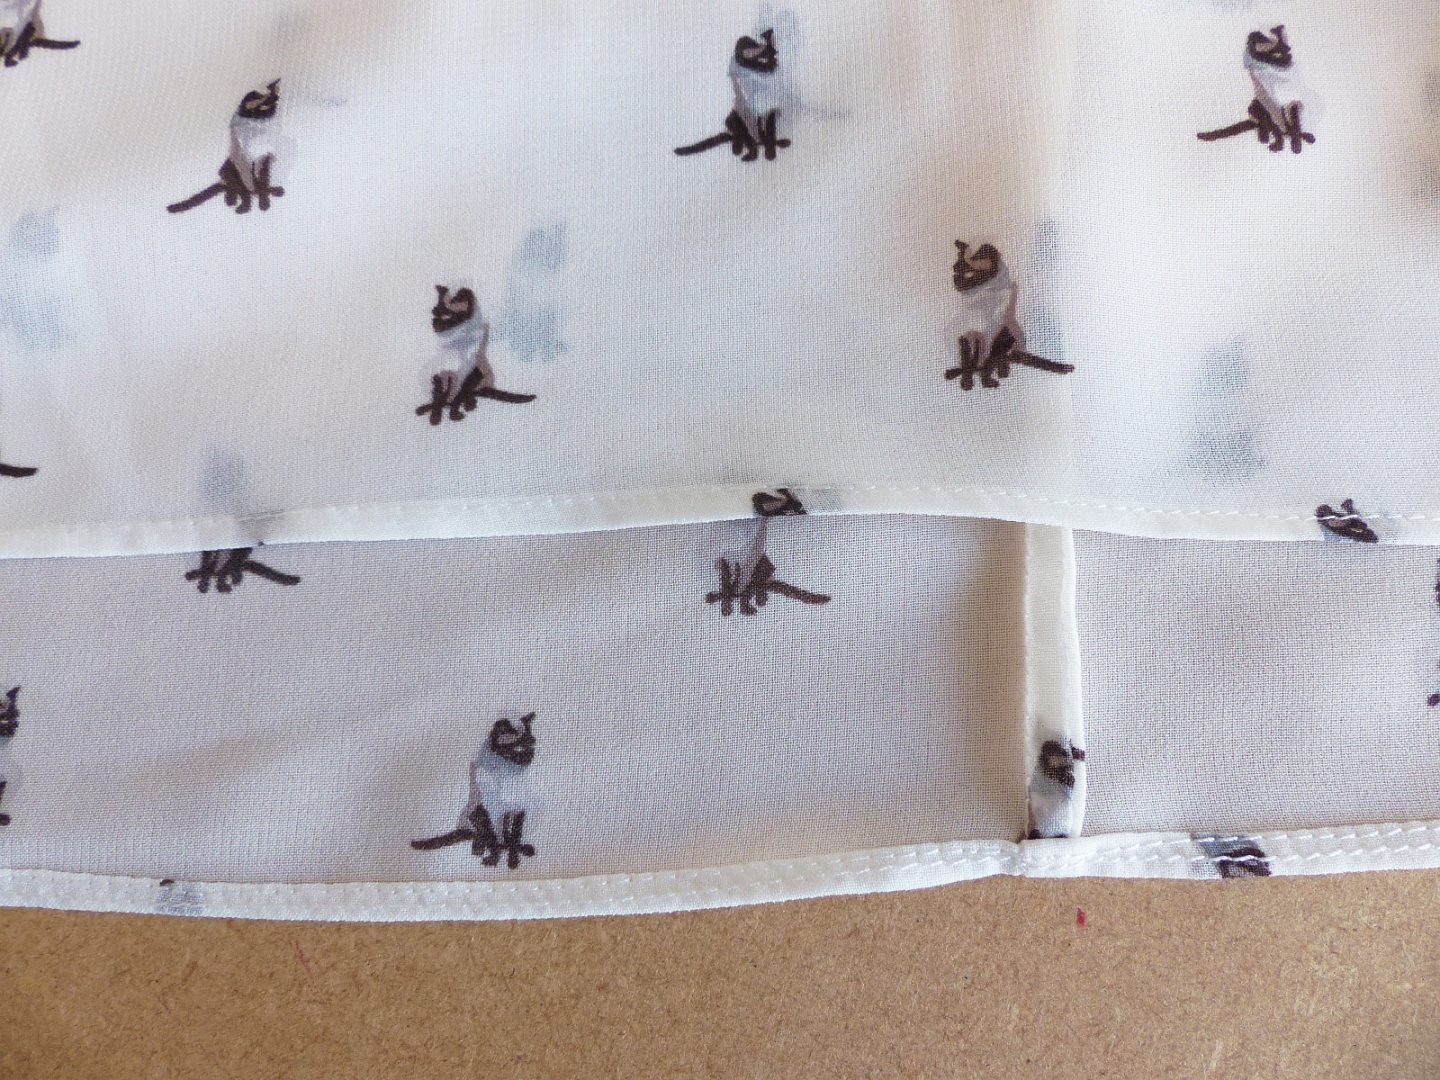
7. Choose appropriate seam finishes to suit fabrics and the garment that you’re making. Overlock or do a Hong Kong binding for unlined garments. If you’re sewing sheer fabrics use French seams.

8. Use sew-in or iron-on stay tape for areas that could stretch out. And add facings for a clean finish.
9. Always understitch facings.
10. For a cleaner finish/look, use concealed zips instead of sewing a standard zip with the lapped method of insertion. I have a concealed zip tutorial here.

11. Topstitch for crisp neat edges on your finished garment (especially coats and jackets). It adds that extra professional finishing touch. I love topstitching!

12. Choose the right hem finish for your garment and the fabric you used. Handstitched ones look good on dressy pants and skirts. Machine stitched hems work on denim and cotton and can give a more casual vibe. If you use a sheer or delicate fabric try a machined roll hem or one done on an overlocker/serger. Knits look good with a twin needle hem.
13. Press your finished garment really well. I can’t stress this enough. Bouncy un-pressed edges and seams look unfinished and don’t give the professional look that we’re after here. It’s a good idea to invest in a silk organza pressing cloth that has a high melt point and can be used with almost any iron temperature, plus it’s see-through so you can be accurate with
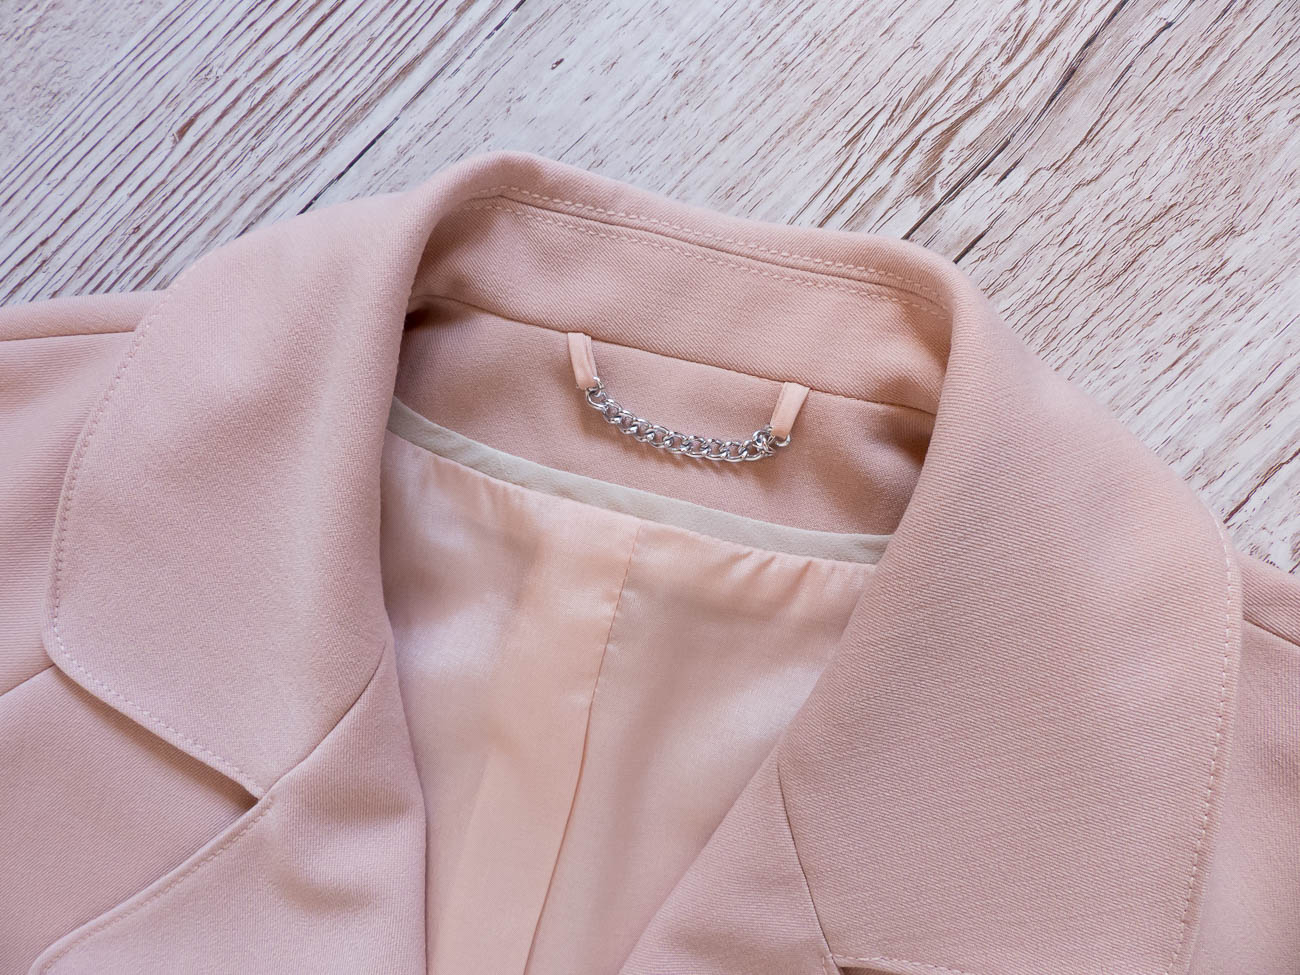
14. Finally, how about some added extra’s like a fancy coat chain to hang up with? Or what about adding a little extra edging/binding insert along the seam where the lining meets the garment (tutorial here)? Or a fancy print instead of plain fabric to line your garment with? You could use a contrast fabric to bind the seams of an unlined garment too.

There are probably other ideas to add to this list and if you can think of something that I’ve missed, please mention it in the comments and I’ll edit my post with credit to you 🙂
I hope you found this post useful and thanks for stopping by for a read. If you like what you see here, why not sign up by email for guaranteed post updates.
See you soon!

Pin For Later!


Thank you Diane! Great reminders AND another chance to drink in the vision this coat really is! Stunning. I’ve discovered that you’re so right – skipping steps always leads to trouble – more “unsewing”, frustration and ultimately dissatisfaction with the final result.
Author
Thanks Kathleen! Yes, absolutely, it’s not worth skipping steps just to end up doing things twice over.
The details of your handcrafted garments are just amazing and that is an understatement. My eyes are drawn to every seam and topstitching and corner and they are utterly perfect. Thanks so much for the tips!
Author
That’s so kind of you Sil, thank you! And I’m glad you enjoyed my post xx
I agree – you make the most beautiful garments. Thank you for giving us the details of what goes into making them! I will share that I think good quality interfacing vs. what you can get at a store like Joann’s here in the states makes a huge difference in a nicely finished garment – both for fit and drape.
Author
Thanks Rosie! That’s a really good point. It’s better to spend the extra pennies on a good quality interfacing. I always go for a weft insertion one like the one I linked to above.
Great post, It’s a checklist of sorts that could be applied to any project! I’ve always believed that pressing is the key to successful sewing, and love all of my fabulous pressing tools. In fact, i have an entire shelf in my sewing room devoted to them, LOL. Could be a bit excessive…
Author
Aww, thanks, Linda. I love the idea of a checklist for any project 🙂 And be proud of your pressing tools collection!
A lovely post with lots of good reminders. Thank you Diane!
Author
Thanks Sue! Glad you enjoyed it 🙂
Dear Diane, I love everything about this coat! It’s so beautiful, it’s got me blushing. Thank you for sharing your tips and construction details. Yes; pressing every seam, each time you stitch is an important factor in creating a well tailored garment. You are right; RTW do a lot of things poorly. Their pressers are actually the behind-the-scene stars; they are the ones who press the twisted seams into submission -until the garment is washed or cleaned. Again; thanks for sharing your beautiful work.
Author
Thanks for dropping into my blog Andrea 🙂 And thanks for the kind comment. I like your description of RTW pressers pressing the twisted seams into submission. Very true!
Wonderful post Diane! Thank you for going to the effort to put this together for us. Your skillset is amazing and I love looking at how you finish each garment. Your attention to detail is inspirational. 🙂
Yes, kudos on your amazing coat. My grandmother used to say that you could tell a quality garment because it is as beautiful on the inside as it is on the outside.
Author
Thanks so much, Deborah. Aww, your grandmother sounds like a very wise lady 🙂