
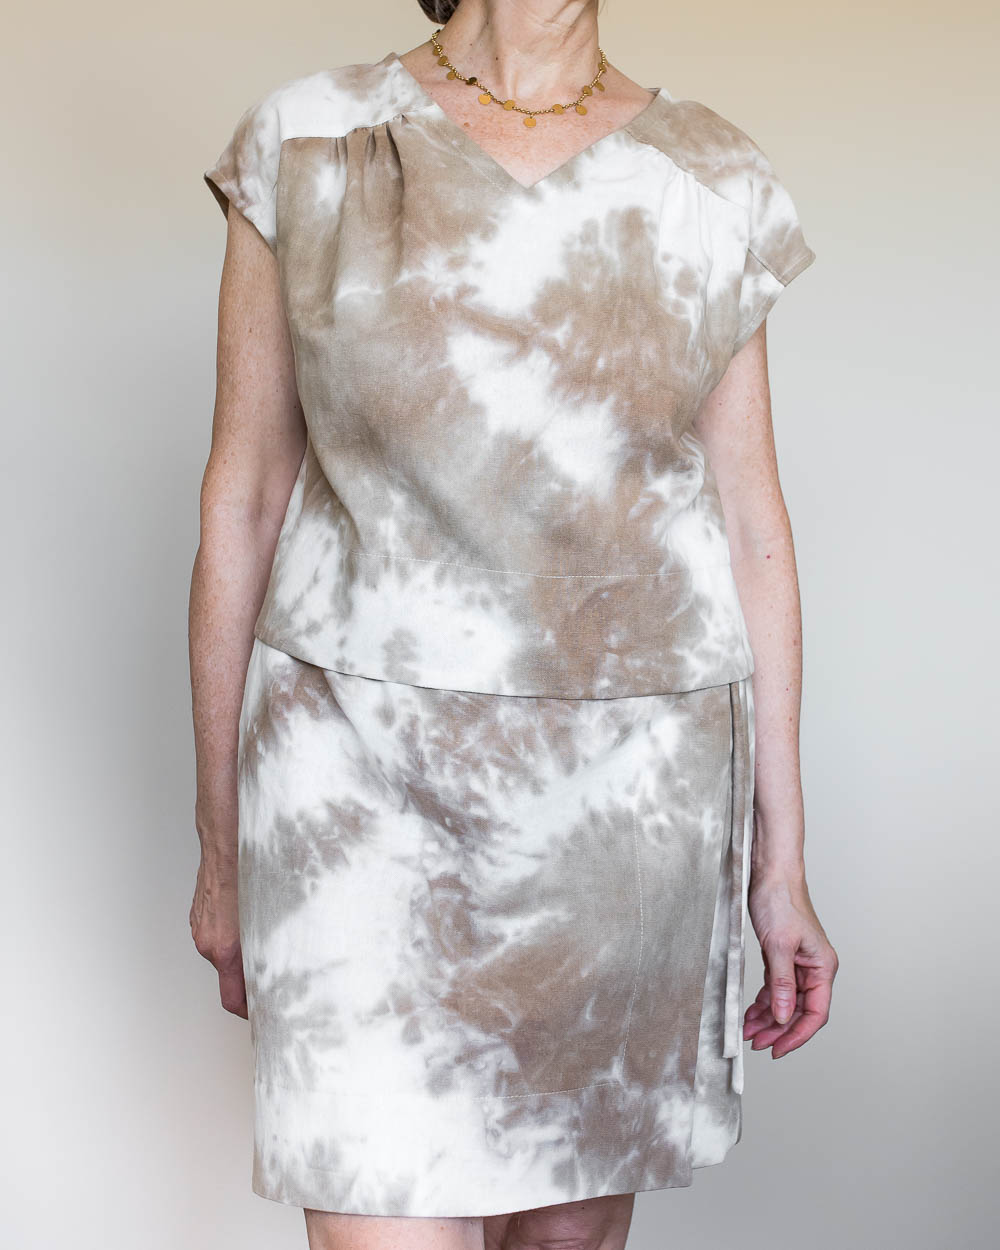
Co-ords have been everywhere over the last couple of years or so. I love that they’re so versatile for mixing and matching with other wardrobe items. My latest self-drafted linen co-ord is a boxy top and a wrap skirt, but you can also have longer skirts and tops, shorts and tops or trousers and tops. Some can look like a dress and some like a jumpsuit, especially if you tuck your top; it can look seamless, so many possibilities…
For fabrics, you can’t beat linen or a linen blend for summer. My preference is usually for a viscose/linen blend because I feel like the viscose helps to negate the wrinkle potential of linen. This coffee and cream tie-dye effect fabric which I mentioned in this post came from a recent small fabric haul from Croftmill, and the thing that amuses me is that the pattern is so much like the design of the floor tiles in our downstairs cloakroom (I swear I didn’t plan it that way, honest!) 🙂 Do you conciously, or subconciously decorate your house in similar patterns and colours to those you wear?
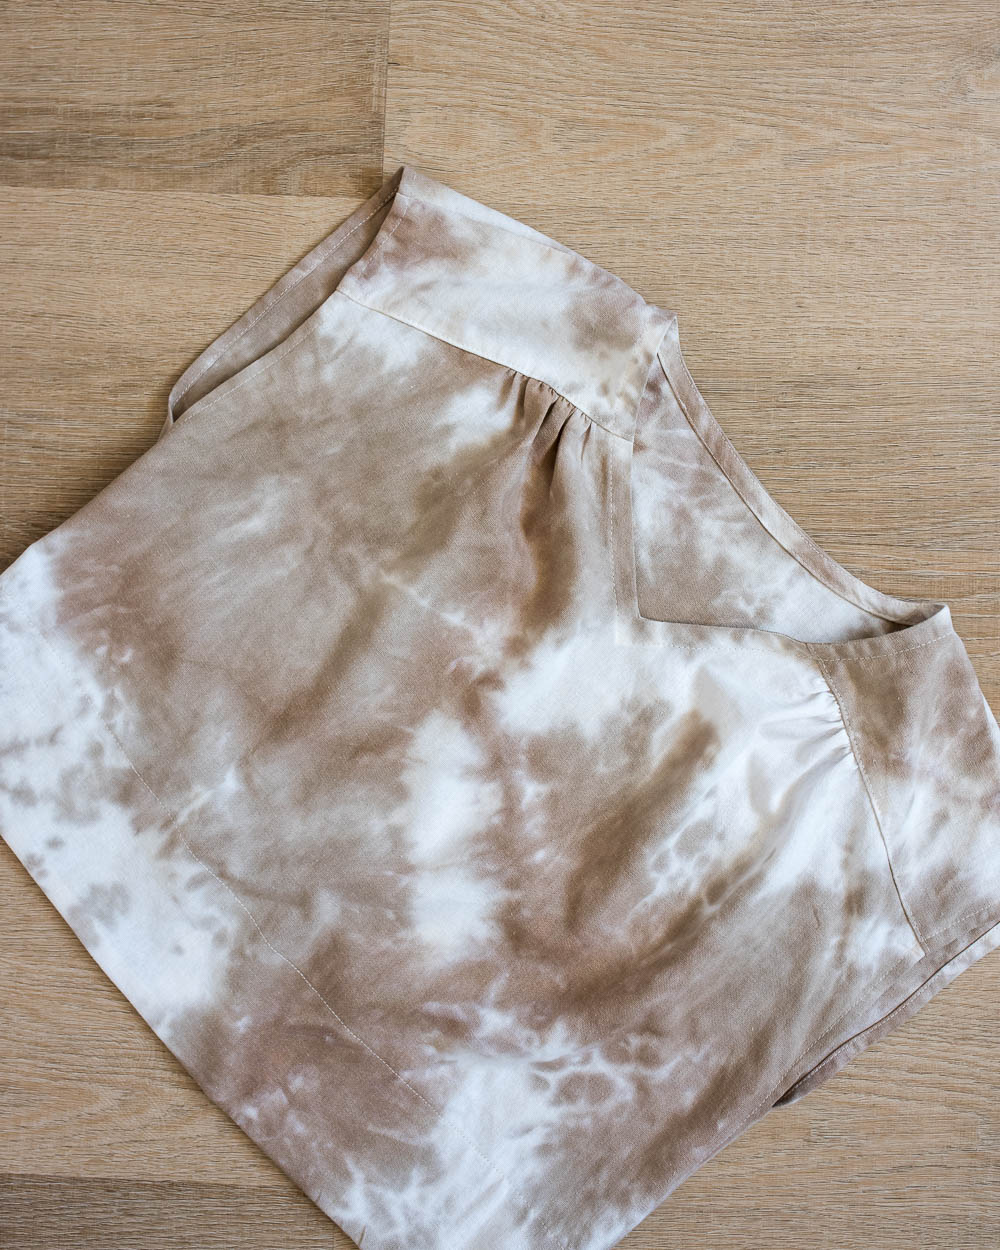
So, back to the details of my make…I’ve previously made a couple of co-ords with wide-leg trousers or longer skirts, and for a change, I decided to pair a top with a shorter skirt. The top is the same design as my cream and terracotta double gauze one that I self-drafted, and you can check out that blog post for how I created the pattern.
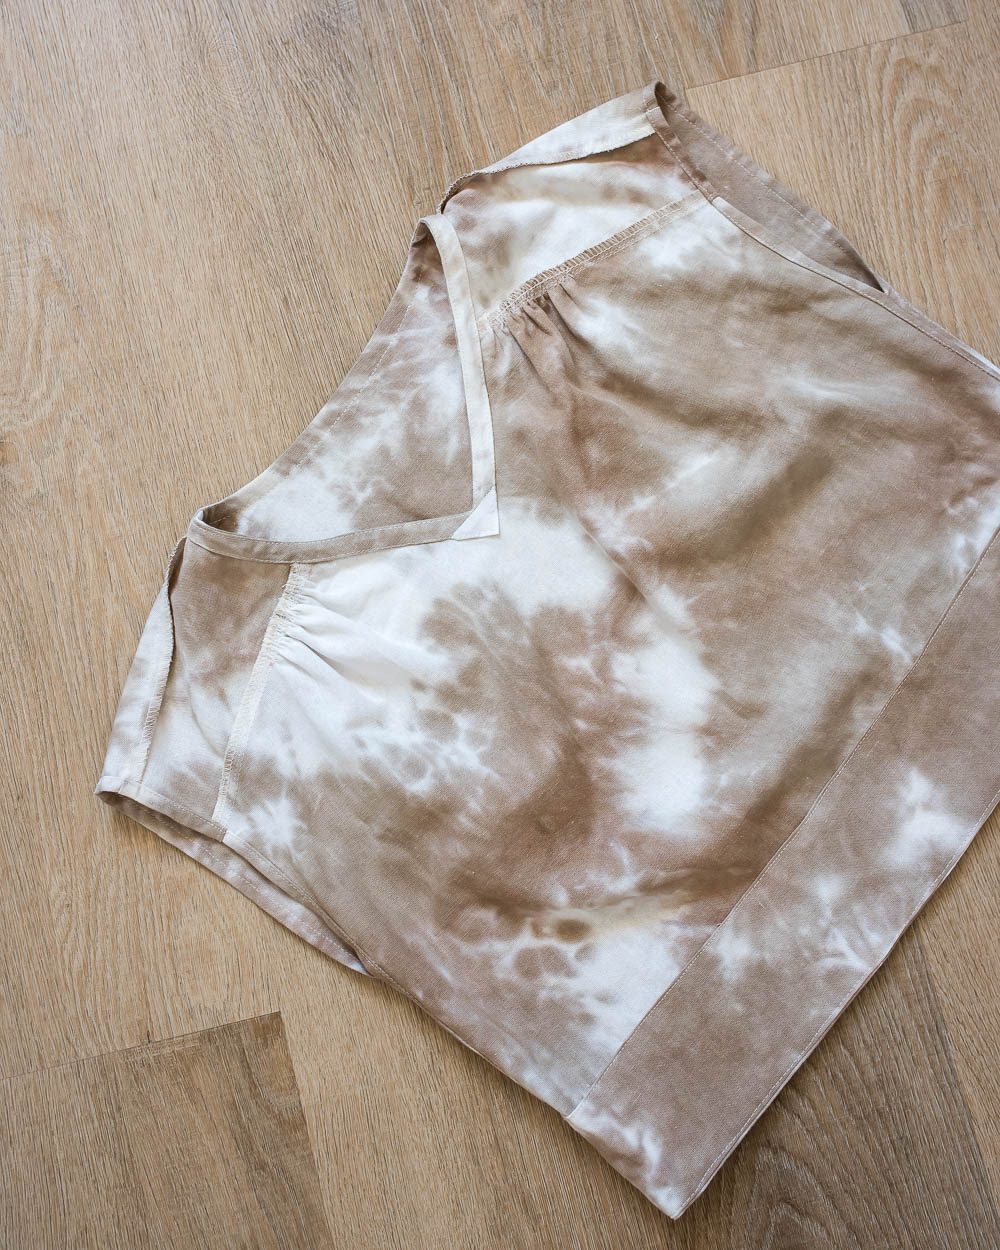
I did, however, make one change to the hems on this version of my top. I added separate hem facings for extra weight and chunkiness around the bottom. The rest is finished in the same way, with a bias band facing for the neckline and topstitching on the side seam allowances that extends to finish the hems of the sleeve openings.
To create the skirt pattern, once again, I used my bodice sloper block. My sloper extends past the waist to hip level, which makes it ideal for creating skirt patterns. Making this wrap skirt pattern was pretty easy, really. First off, the back pattern is just a plain skirt back without a centre seam and two waist darts. The sides are almost straight…just a hint of an A-line shape.
For the two front skirt pieces, I traced off the front pattern twice and trimmed off a small side section just beyond the adjacent dart. I wanted a substantial wrap, which is why I went beyond the dart. I can’t bear a wrap that shows too much leg when you sit down.
Once I had the pattern pieces, it was easy to create a basic narrow facing for the waistline. I also made some 3″ deep hem facing pattern pieces to match the facings on the hem of the top. As you can see, I mitred the facing join where the hem piece and the leading wrap edge meet. To finish off, I topstitched the upper edge of the facings in place, and then it all looks nice and clean when you see the inside of the wrap as you move around.
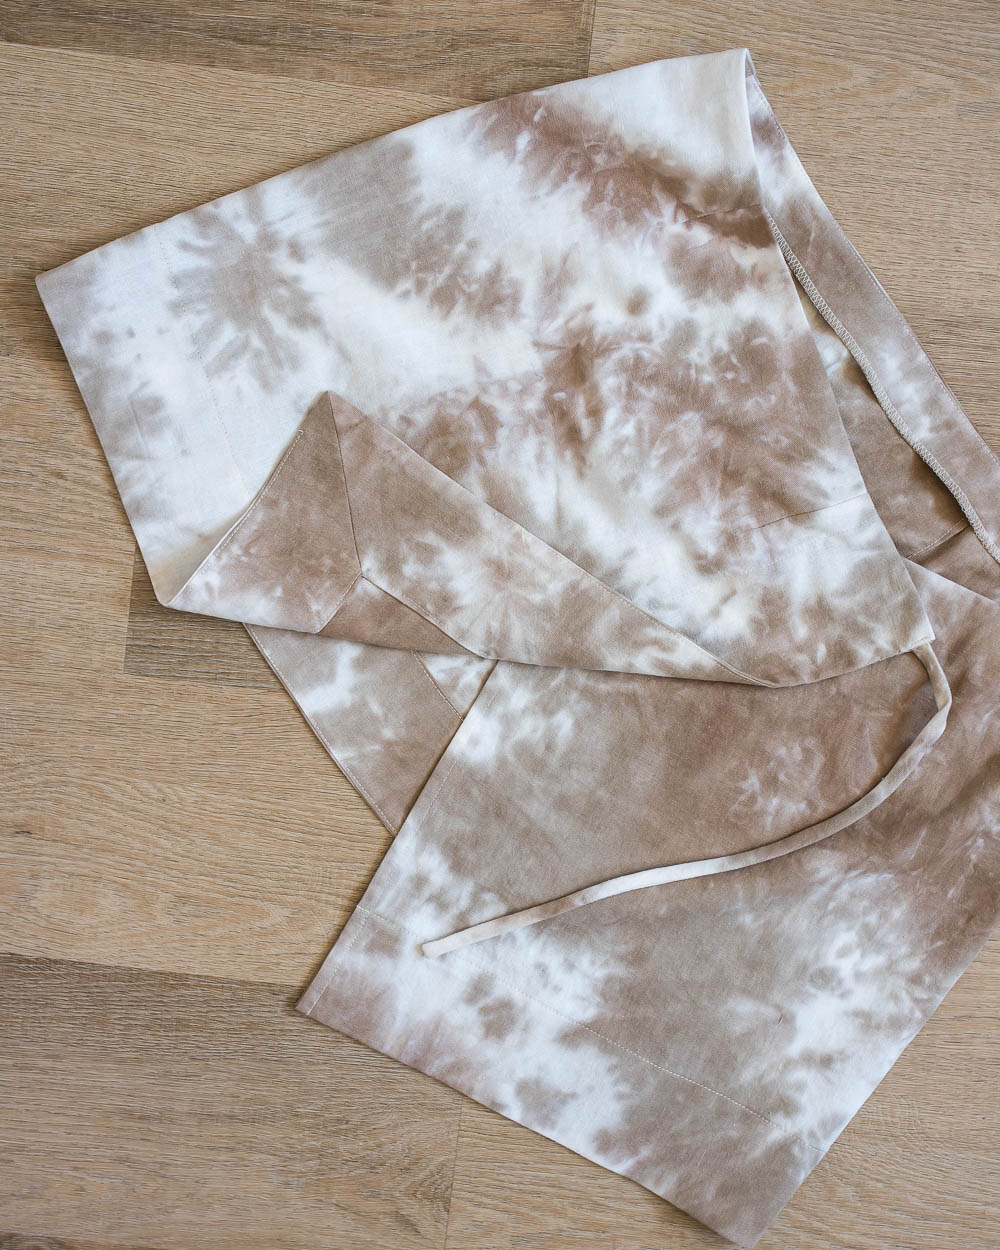
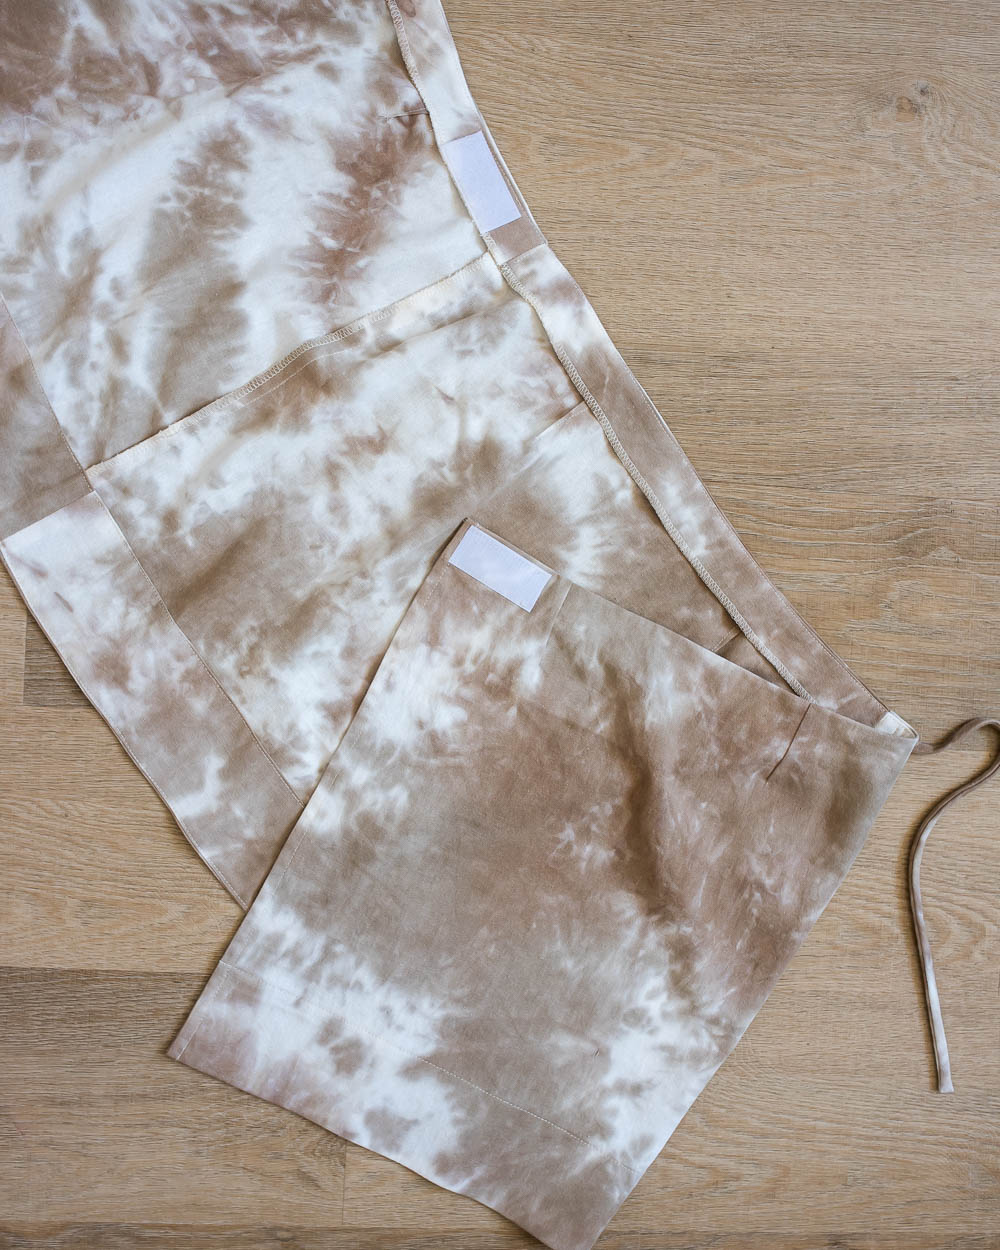
I went really basic for the waist fastenings of the skirt. On the left side, I’ve used some fabric ties sewn from narrow strips of fabric. For the inside part on the right, I’ve literally just sewn on some Velcro. I know I could have done a button and buttonhole, but hear me out…there’s room to adjust the tightness of the waist because I can overlap the Velcro more or less and tie the fabric ties at the opposite side to suit…so handy if I overindulge at dinner 😉
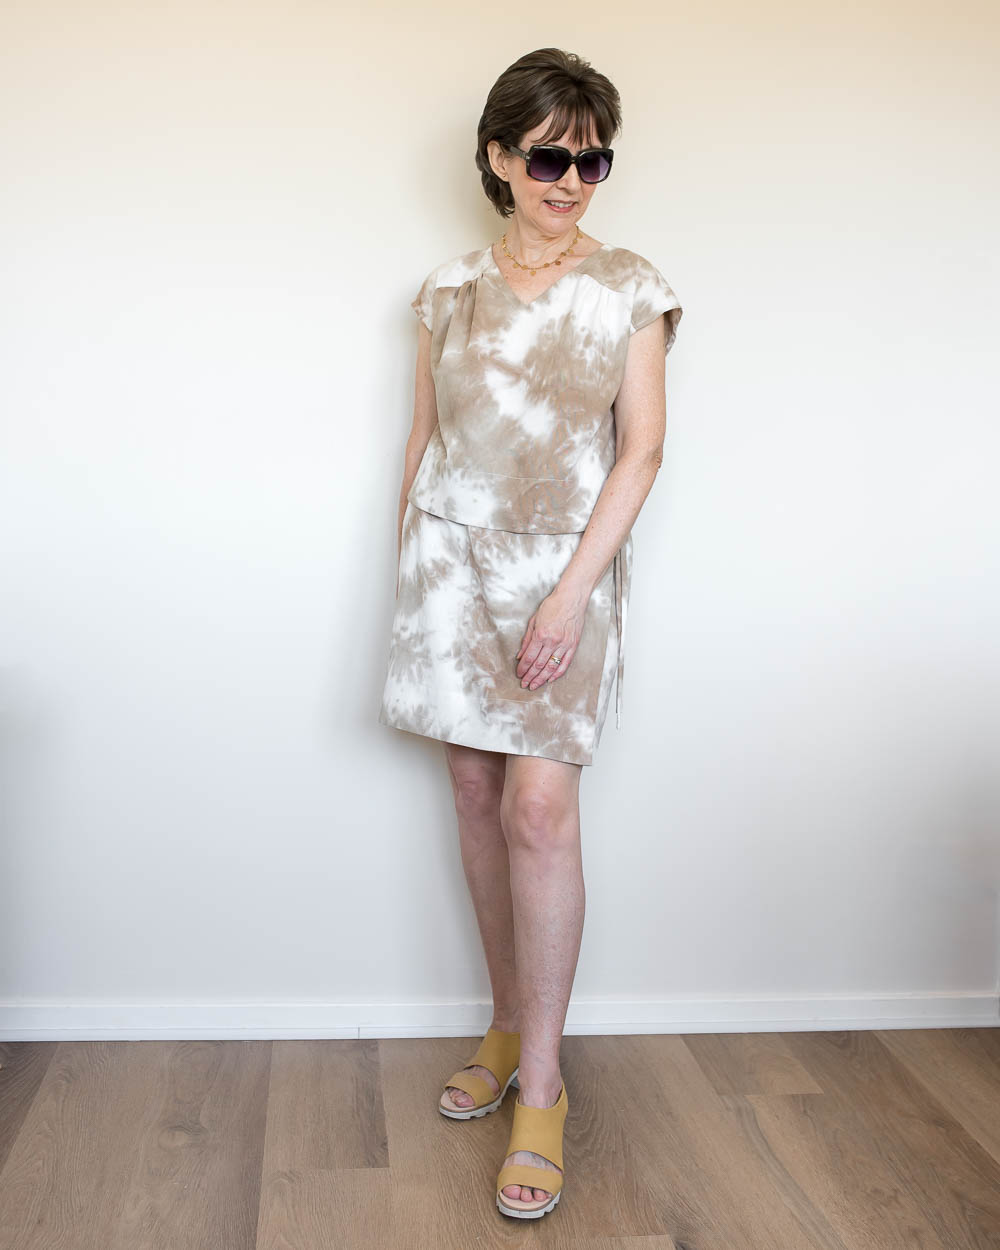
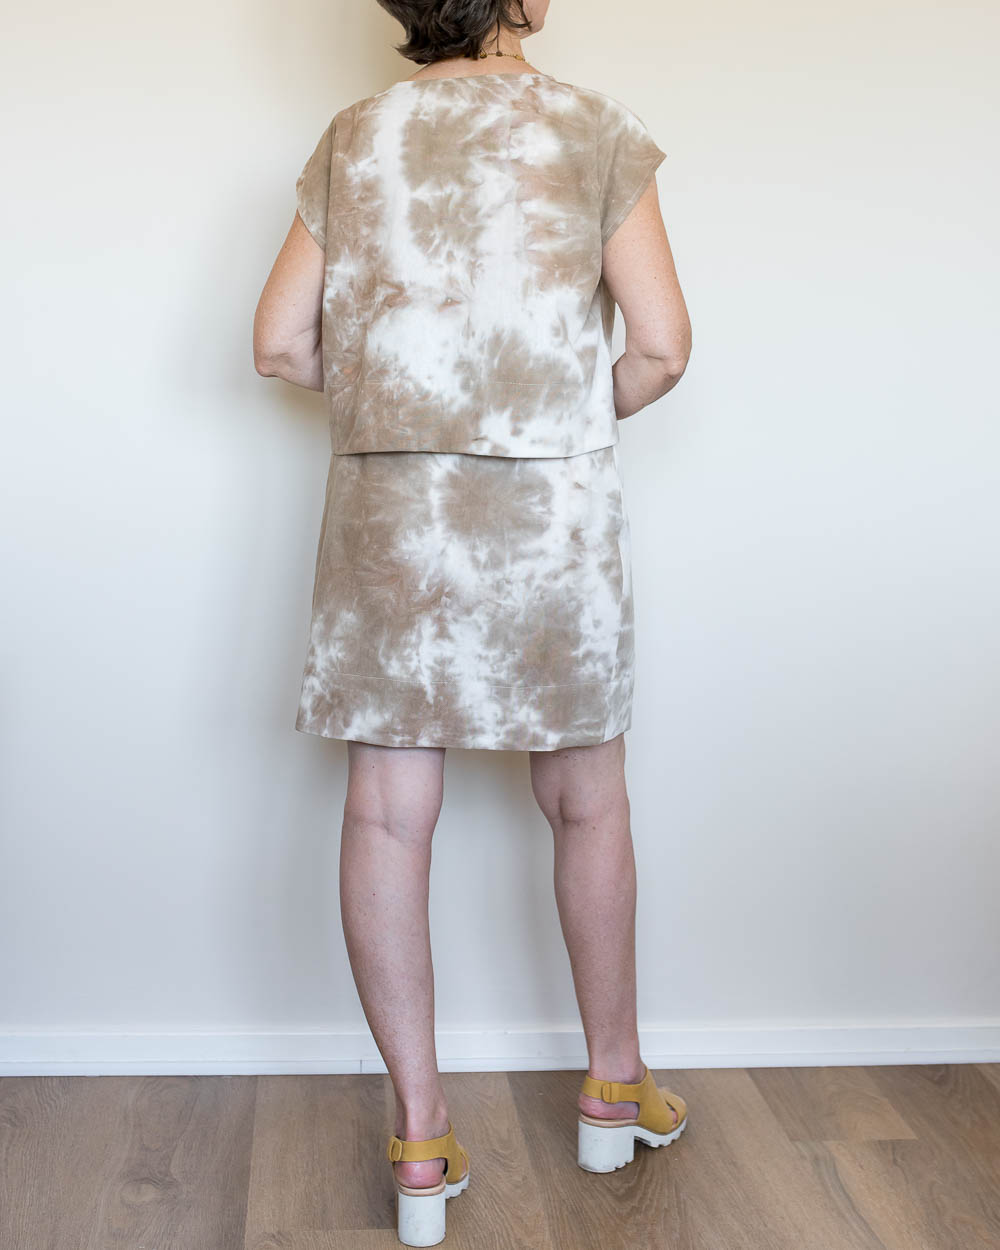
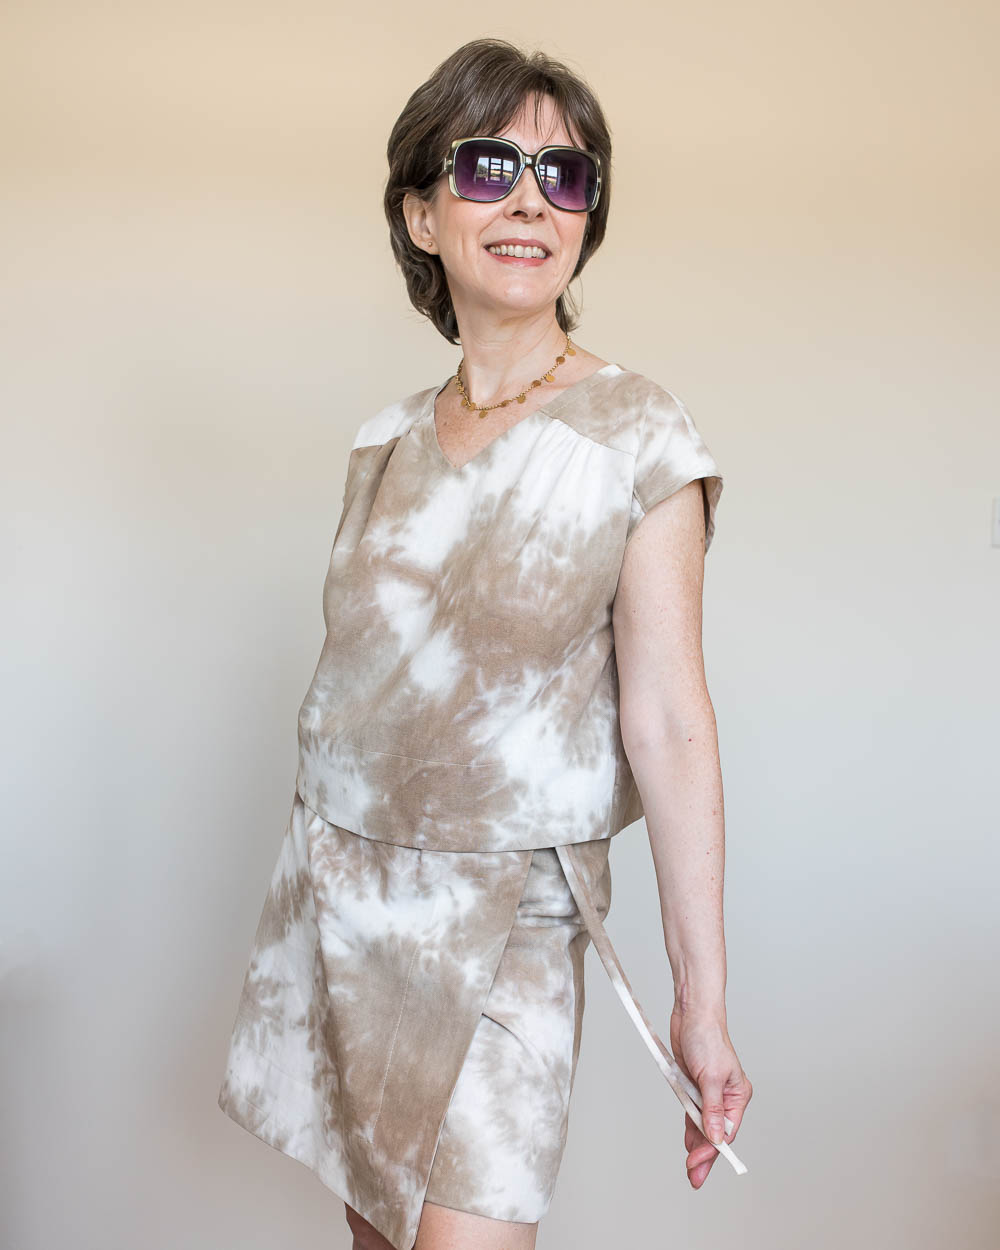
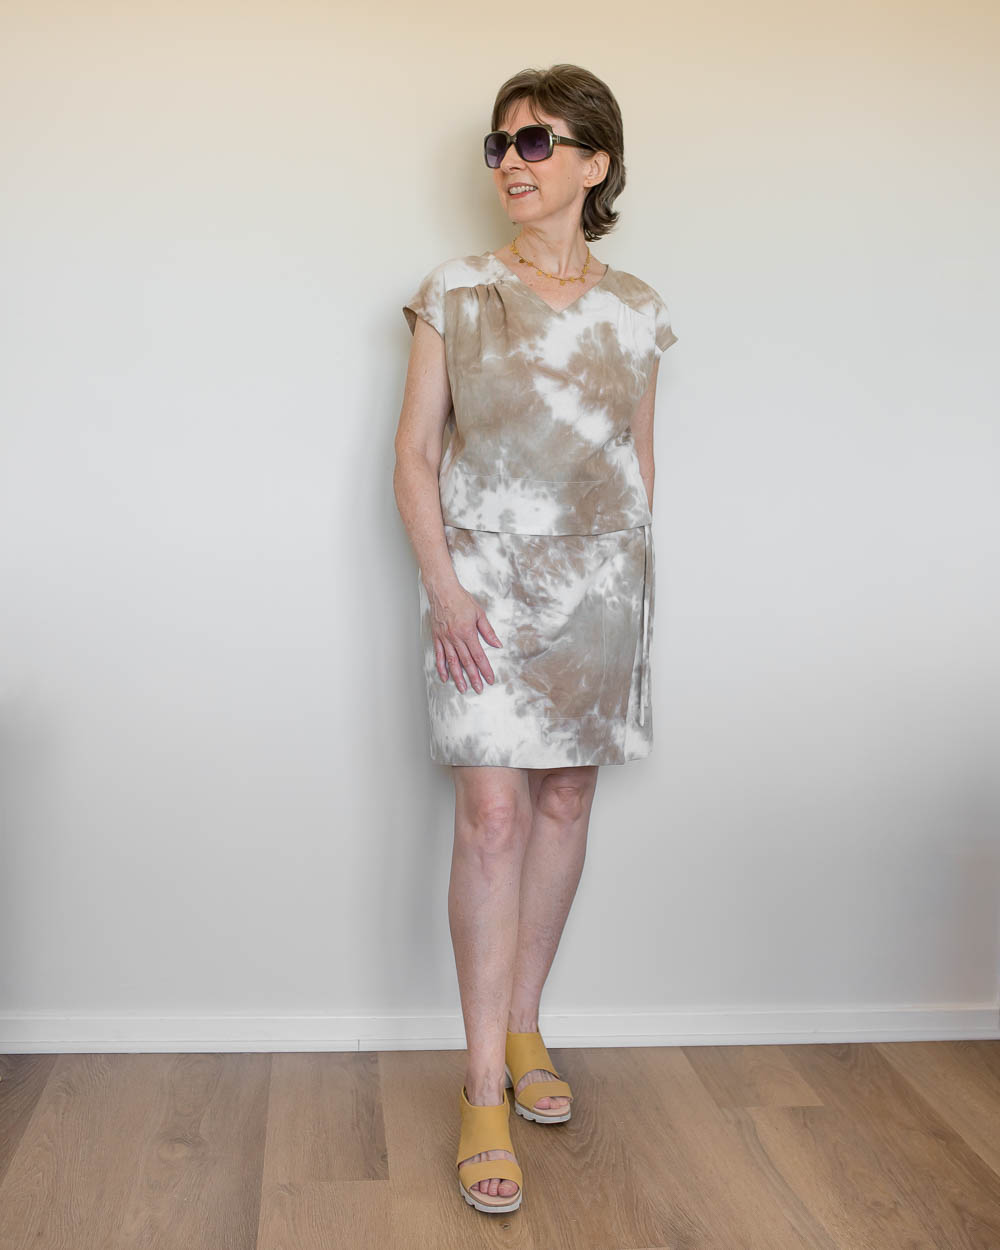
I’m really thrilled with this little two-piece set as it feels so ‘me’ and is incredibly comfy. It hits that happy medium between casual and more put-together. I love that I can wear the items separately too. Separates for the win, eh?
Would you say that you have more separates than one-piece items in your wardrobe? I’d love to know. Tell me in the comments. Thanks for reading, see you soon!


This is lovely! Great idea for Velcro fastening. I have mainly separates, planning both matching coord and 1 pieces. I have SO many things I want to make! I diverted off into 2 belt have and a water bottle holder -no fitting!!- And now back at replacing the bodice on a dress for better fit. Then a coord – top and skirt, I think.
2 Belt bags…
Author
Thank you1 Yes, the Velcro is so handy for adjusting the waist because I sometimes grow a couple of inches during the day :/
Ohhh, I’m the same, with so many ideas going through my head for new makes. The no-fitting projects are fun, though, because you can relax a bit more with the process.
Hi Diane, I LOVE your new co-ords top and (mini ;-} skirt! It looks terrific on you, and your skirt draft from your sloper is very well thought-out; the velcro underlap with the tie really are a great closure. I had a RTW skirt much like this one that I loved, but it had a button underlap and external closure that wasn’t the best by the end of day (I expand a lot, as you mentioned). I have this issue with a lot of fitted clothes and consequently wear a lot of bottoms with elastic). The wide hem is a very nice design feature on the crop top and ‘crop skirt’ — ha hah — REALLY cute!
Author
Hehe, thank you so much, Joan! Glad you like my double crop look 🙂
Diane
I adore the outfit, and yes I sure do surround myself with similar patterns and colours when sewing and decorating!
Heehee
I’m a dressmaker and also teach sewing, and if I can comment; your skills are wonderful. My teaching eye however, sees one detail and I hope you will not mind if I make a suggestion. The self drafted pattern is almost perfection, especially the topstitched armholes continuing down the side seams. I would however, press those shoulder seams to the back next time, you have them coming to the front of the bodice. They will actually sit better with our naturally slightly forward shoulders and movement of arms.
Cheers Diane, I so enjoy your posts!
Author
Thank you so much, Suz. Ah yes, on the inside details image, you can clearly see that I’ve pressed the seams forwards…that’s really helpful of you as I’m never quite sure which is the best way to press shoulder seams. Thanks 🙂