
I’ve got a lovely easy summer make to show you today day. It’s the Fibre Mood Ida from issue 10 which is out today.
Now, if you check out the pattern photos you’ll see a difference… yes, I’m afraid I couldn’t help myself, I just had to add a little twist of my own to the design and I made a lovely little shoulder detail to add to the light and airy feel of the style. I’ll give you details of how I did the hack later on in this post so keep reading…
First up, the pattern. It’s a really simple loose cap-sleeved shape with a v-neck at the back and front, plus little sleeve bands. I think it has a very definite ’80s feel and you also have a dress option in the pattern which I really like… I so need a dress like this too!
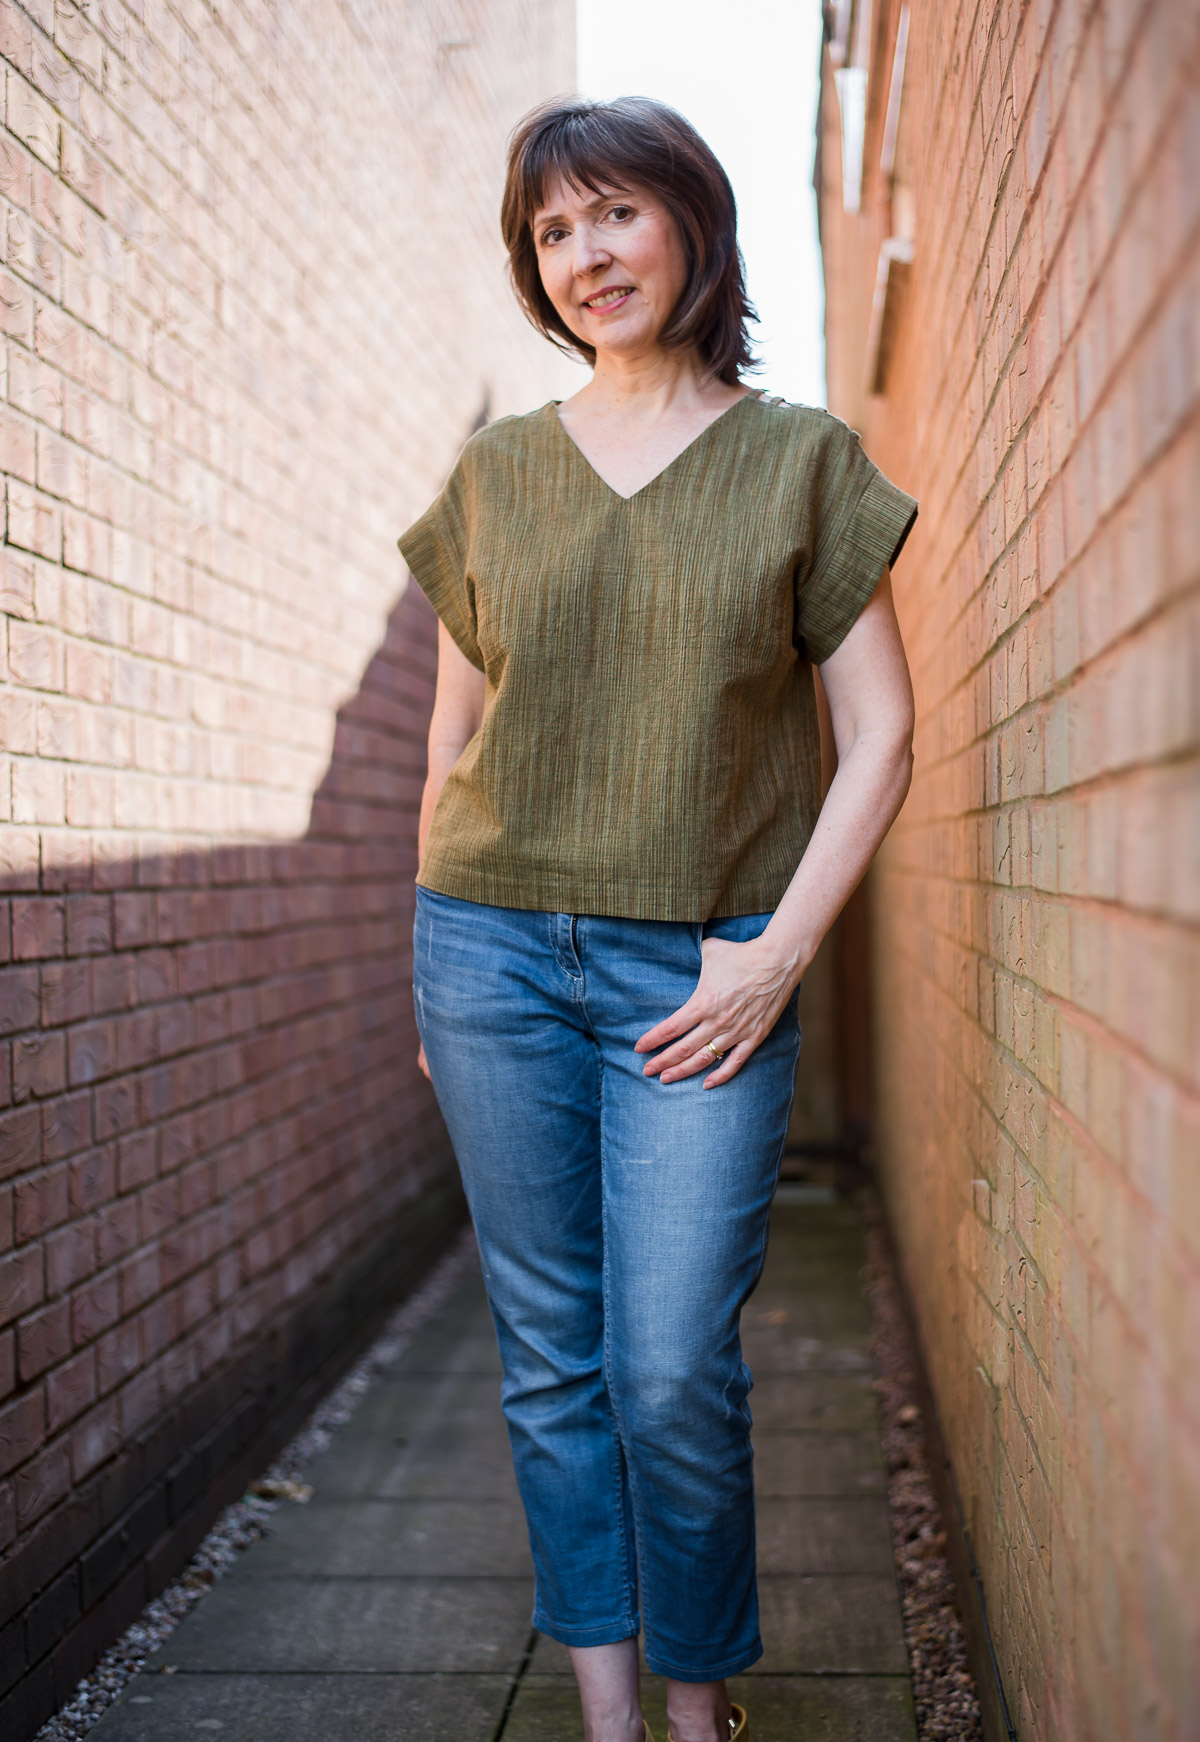
The woven cotton that I sewed my Ida in had been in my stash since last year. I actually won it in an Instagram challenge and it came from The Delhi Store. It’s really lightweight with a textured weave, cool to wear and perfect for this design.
I cut out a size M and the fit alterations that I made were to bring the shoulder line forward for my forward rolling shoulders and I also added a small bust dart.
Obviously, this would have been a really quick project, but of course, the shoulder detail took a little more time. Here is how I did it:
- I stitched the shoulder seam in from the outer edge by about 1-inch.
- I then folded the seams back equally each side at an angle, ending at the neck edge where the amount is 1 inch on back and front.
- I sewed a long tube of fabric and turned it through then chopped it up into pieces.
- I laid out the tubes of fabric across the gap starting at 2” wide and getting smaller as I reached the end of the ‘V’ shape. I pinned it into place.
- I stitched the strips in place with a couple of rows of topstitching.
- I stitched on the back and the front neck facings. Finishing at the edge of the shoulder detail whare I folded them back along the edge.
- To finish off I handstitched the facings along shoulder seam on the inside.


Now, because of my rounded shoulders, I felt that the neckline might get a bit shifty and might slide off my shoulders a little so I added a small tie detail at the back neck to finish it off. However, if you just make the original version of the Ida you could add bra straps along the shoulder seam.


And there we have it. An easy-breezy summer top which I’ve already worn and loved. it so cool and comfy. I’m sure it’ll be in heavy rotation if our warm humid weather continues.
Don’t forget..you can check out all the latest Fibre Mood collection here. And you can see my previous Fibre Mood make here
As always thanks for reading, I really appreciate it and I’ll see you soon.
***Disclaimer: I was gifted the Ida pattern to sew up and review by Fibremood. All opinions about it are honest and entirely my own. This post also contains some affiliate links. This means that I may make a small commission at no cost to you if you click through and purchase something that I link to. You can read my full disclosure policy here (thank you for supporting Dream Cut Sew )***

Pin For Later


I love how this looks complicated but turns out to be fantastically intuitive!! The back neck tie adds a lovely touch and the alternative idea of adding a bra strap holder is spot on. I’m learning over here Di! xxxx
Author
Thanks so much hon, it is such an easy hack isn’t it?
Very elegant addition to this pattern, Diane. I also think your neckline tie is a great addition and your finished garment looks better-fitting through the shoulder and neckline than the model, and the tie may be why!
I hope to use this shoulder detail in the nearish future — thanks for the inspiration!
Author
Thank you,Joan! I just knew that if I didn’t add the tie I may be fiddling constantly and if I hadn’t done the shoulder detail which goes with the tie, I would have just sewn some bra strap keepers on the inside.
Nicely done! Great instructions for the pattern hack too. Certainly makes it a very summery top!
Author
Thanks ever so much, Linda. I just need our weather to go back hot again so I can wear it some more!
I love all of your modifications Diane, it really elevates this pattern to special!
Author
Thank you so much Linda!
It’s fantastic, love the shoulder detail. Slowing down and creating something unique is the way to go.
Monika x
Author
Thanks, Monika. Yes, why rush a project? It makes the journey as fun as the destination. x
This boxy shirt doesn’t look as a true ‘Diane’ to me. Maybe it works better in a more drapey fabric.
Author
Hmm, my coral sweater is a bit boxy and I wear that a lot. But granted I do have more fitted clothes in my collection. It’s fun to try different silhouettes though 🙂
This is lovely and you’ve really made it your own!
Author
Thanks, Sue! I’m so pleased with how my hack turned out.